
To improve prompt engineering for food photography’s lighting and styling, focus on specifying natural or artificial light sources, directions, and diffusion techniques to create appealing textures and moods. Use descriptive language for color coordination, garnishes, and backgrounds that complement the food’s story. Mention props and composition details to guide a cohesive scene. Mastering these aspects helps you craft consistent, stunning images—exploring further will open even more expert tips and tricks.
Key Takeaways
- Specify natural or artificial lighting conditions, including time of day, light softness, direction, and mood to evoke the desired atmosphere.
- Use detailed prompts to describe light modifiers, angles, and shadows for controlling glare, highlights, and depth.
- Clearly outline styling elements like color coordination, garnishes, and decorative accents to enhance visual appeal.
- Incorporate background and prop details that complement the food’s theme, mood, and textures to create a cohesive scene.
- Highlight textures, colors, and textures in prompts to evoke tactile and visual interest, ensuring the mood aligns with the intended aesthetic.
Understanding the Basics of Lighting in Food Photography
Lighting is the foundation of great food photography because it shapes how your dishes look and feel. Diffuse lighting is key, as it softens shadows and creates even illumination, making your food appear more appetizing. It reduces harsh contrasts and highlights the natural textures of ingredients. Understanding color temperature is equally important; a warm temperature (around 3000K) adds coziness, while a cooler tone (around 5500K) mimics daylight for a fresh, vibrant look. Adjusting these elements helps you control the mood and authenticity of your images. Using softboxes, reflectors, or natural light sources can help you achieve the perfect diffuse light. Mastering these basics guarantees your food is consistently appealing and visually compelling. Additionally, choosing the right projector technology can help you review your images accurately, ensuring color fidelity and detail. Incorporating knowledge about lighting techniques can further enhance your ability to create stunning food photographs, especially as advances in security zone info demonstrate the importance of proper monitoring and control—principles that can be translated into effective lighting setups. For example, understanding the impact of sound healing science principles can inspire creative lighting arrangements that evoke specific moods or emotions in your food presentation. Moreover, experimenting with creative inspiration can lead to innovative styles and compositions that make your work stand out.
Crafting Prompts for Natural Light Effects

To effectively evoke natural light effects in your food photography prompts, focus on describing the qualities of sunlight and its interaction with your scene. Emphasize the warmth, softness, and direction of natural light, especially during the golden hour when sunlight casts a warm, amber glow. Highlight how natural light enhances textures and colors, creating inviting, authentic images. Use prompts that specify the time of day, light quality, and its interaction with food. This encourages a mood that feels genuine and appealing. Incorporating an understanding of glycolic acid benefits can also inspire fresh, radiant imagery that highlights skin glow and vibrancy. Paying attention to lighting conditions can significantly improve the mood and realism of your photos, especially when considering the skin’s response to UV exposure to achieve a healthy, luminous look. Additionally, understanding how projector bulb maintenance impacts image quality can be helpful if you are using projection techniques for creative backgrounds or displays in your food photography setups. Recognizing the importance of AI in retail success can also inspire innovative presentation styles and visual storytelling elements.
Using Artificial Lighting to Enhance Food Visuals

You can dramatically improve your food photos by optimizing your artificial light sources to highlight textures and colors. Managing shadows and glare guarantees your dishes look appealing without harsh spots or unwanted reflections. Adjusting these elements helps you create a balanced, inviting image that truly makes the food pop. Incorporating lighting techniques can also help you achieve a more professional appearance by controlling the direction and quality of light. Incorporating mindful decluttering techniques in your setup can also help eliminate visual distractions, allowing your food to be the main focus. Understanding technological advancements in lighting, such as smart or automated systems, can inspire innovative ways to troubleshoot and refine your lighting setups for optimal results.
Optimizing Light Sources
Artificial lighting plays an essential role in enhancing food visuals by allowing you to control brightness, color temperature, and shadows. To optimize your light sources, consider using diffusers or softboxes as light modifiers—they soften harsh light and reduce glare. For quick shots, flash photography with diffused flash can freeze motion and add punch. Adjust your light’s position to highlight textures and colors effectively. Experiment with multiple sources to create depth and dimension. Here’s a quick guide:
| Light Type | Purpose | Modifier |
|---|---|---|
| Continuous Light | Consistent illumination | Softbox, umbrella |
| Flash Photography | Freezing motion, highlighting | Diffusers, bounce cards |
| Natural Light | Soft, ambient glow | Reflectors |
| LED Panels | Adjustable brightness and color | Grid, barn doors |
| Spotlights | Focusing on specific areas | Snoots, gels |
Additionally, understanding light modifiers can significantly improve the quality of your food photography by shaping and controlling light more precisely. Being aware of support hours and scheduling your shoots during optimal times can also help you make the most of available lighting conditions, especially if shooting outdoors or during specific events. Recognizing light expiration is important to ensure your lighting equipment remains effective over time and doesn’t compromise image quality. Moreover, experimenting with different lighting angles can further enhance the appeal of your food shots. Incorporating techniques like diffusion can help create a softer, more appealing look, especially for delicate textures.
Controlling Shadows and Glare
Controlling shadows and glare is essential for creating clean, appealing food images that highlight textures and colors. To achieve this, focus on reducing harsh shadows by using diffused reflections, such as softboxes or bouncing light off reflective surfaces. These techniques soften shadow edges and distribute light evenly, preventing overly dark or distracting areas. Adjusting the angle and distance of your artificial light sources can also help control glare, ensuring reflections don’t overpower the image. Aim for shadow softness that adds depth without obscuring details, making textures stand out clearly. Properly managing these elements results in a balanced, visually pleasing shot where every ingredient’s detail is visible and inviting. Incorporating lighting techniques like using reflectors or diffusers can further enhance the overall quality and professionalism of your food photography.
Styling Techniques for Tempting Food Images
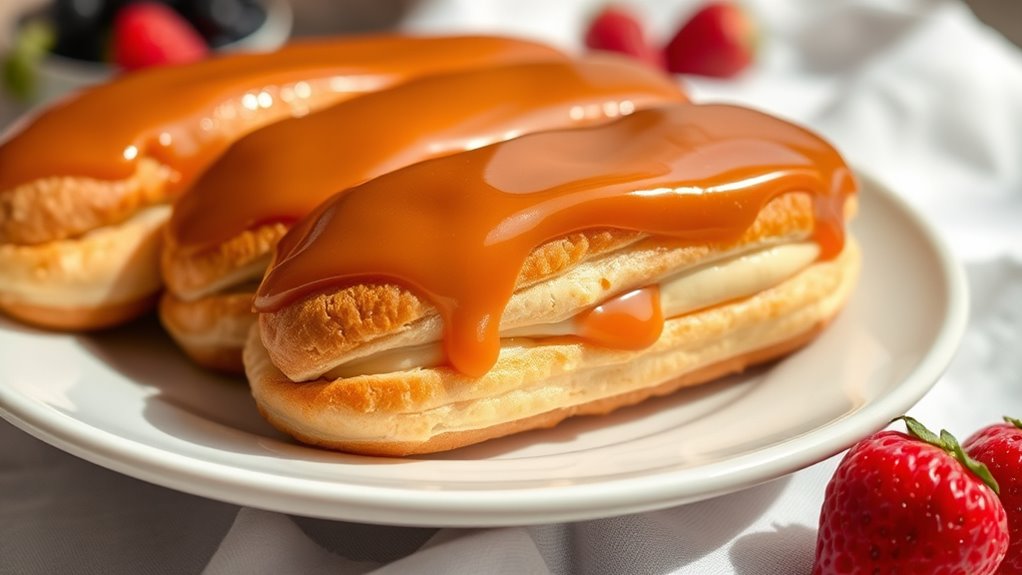
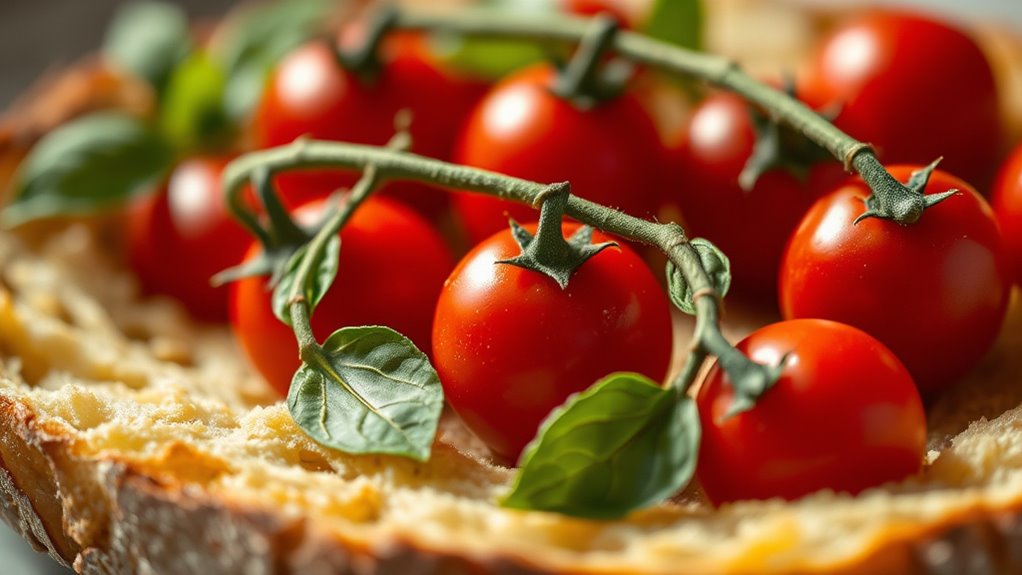
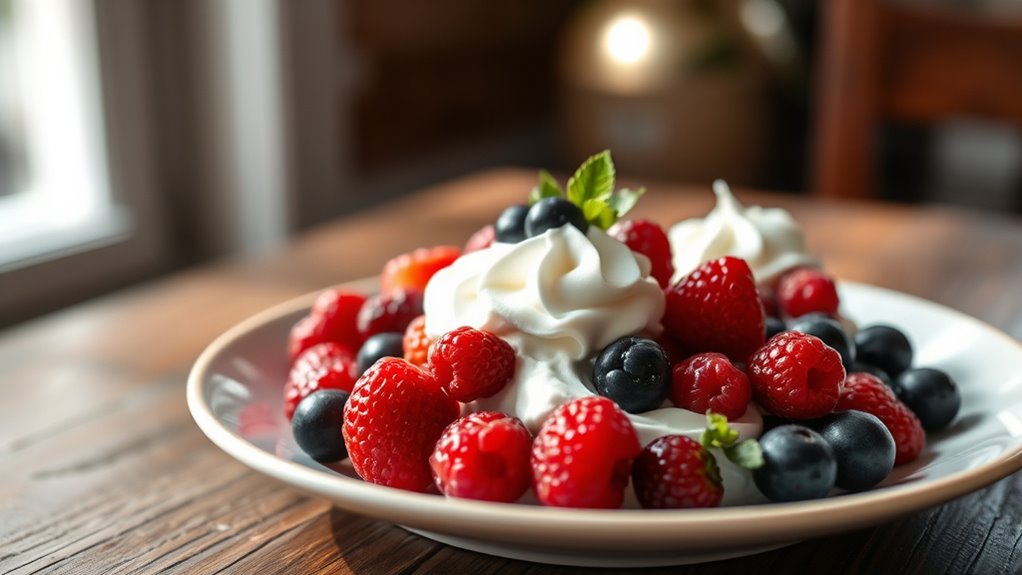
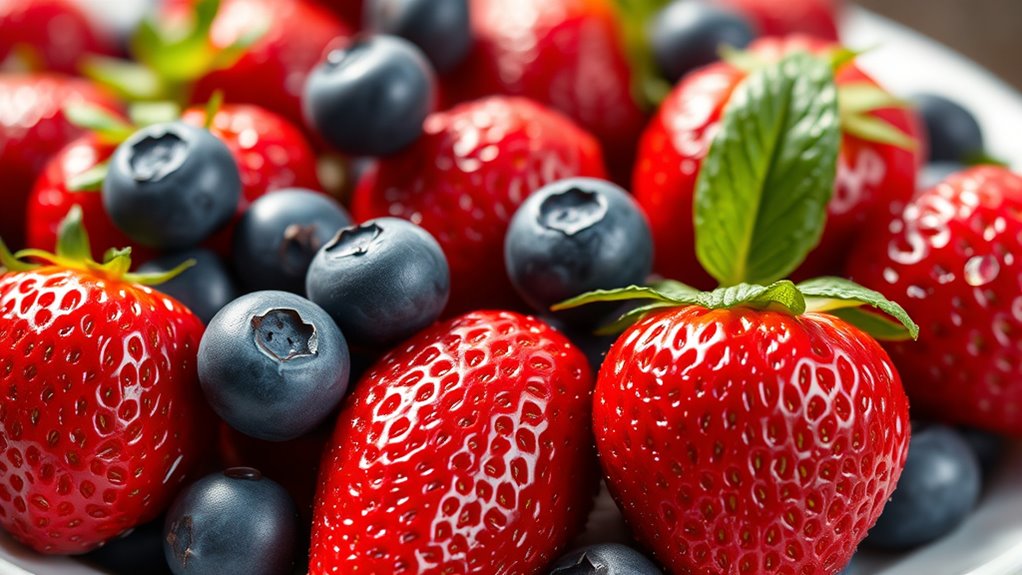
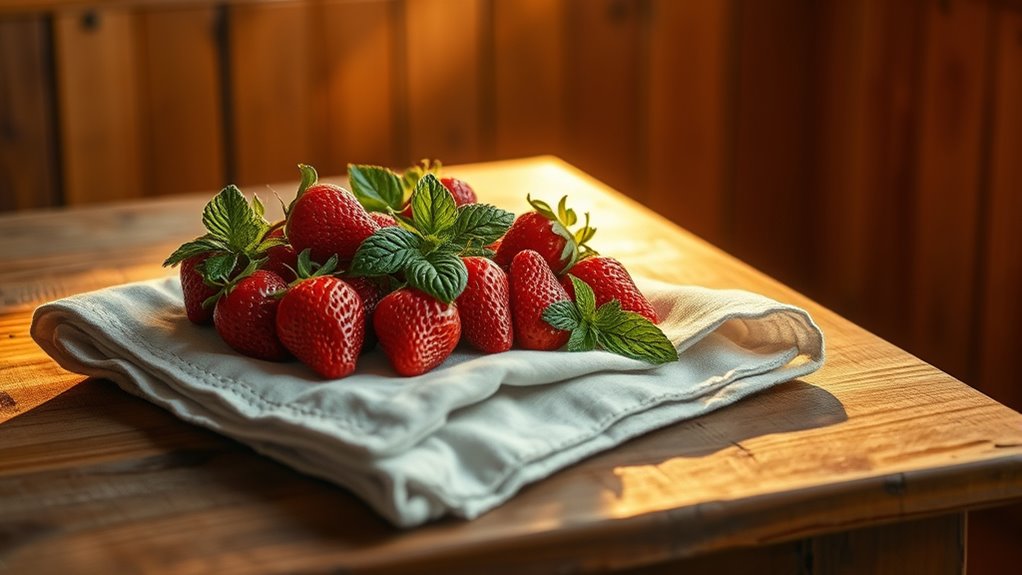
Effective styling starts with smart color coordination to make your dishes pop. Adding garnishes and accents enhances visual interest and makes the food look more tempting. Pay attention to these details to create images that truly entice viewers. Incorporating appealing visual elements such as complementary colors and textures can further elevate the presentation. For instance, choosing the right candle containers can add a decorative touch that complements the food styling. Recognizing recurring visual patterns in food presentation can help create consistent and appealing images that resonate with viewers.
Color Coordination Strategies
When it comes to food photography, color coordination plays a crucial role in making dishes look irresistible. Using complementary colors enhances contrast and makes your food pop. For example, pairing vibrant reds with greens creates a lively, appetizing look. Color blocking involves arranging dishes or backgrounds with bold, solid colors to draw attention and add visual interest. This technique simplifies the scene, emphasizing the food’s natural hues while creating harmony. Stick to a limited palette to avoid clutter and ensure the focus remains on the dish. Think about the mood you want to evoke—warm tones for comfort, cool tones for freshness—and select your colors accordingly. Strategic use of complementary colors and color blocking transforms simple dishes into captivating, tempting images.
Garnishing and Accents
Garnishing and accents bring your food images to life by adding visual interest and context. Edible garnishes like fresh herbs, citrus slices, or colorful berries can elevate a dish’s appeal and suggest flavor profiles. Decorative accents, such as drizzles of sauce, sprinkled spices, or edible flowers, create contrast and draw the eye. Use these elements sparingly to highlight key ingredients or add pops of color that complement your main subject. Carefully placed garnishes can also suggest movement or texture, making your food appear more tempting. Remember, the goal is to enhance without overwhelming—select accents that support your story and style. With mindful garnishing, your food images become more engaging, inviting viewers to imagine the taste and aroma.
Developing Prompts for Color and Texture Emphasis
To make colors and textures stand out in food photography, you need to craft prompts that specify these elements clearly and vividly. Focus on balancing color harmony to create visual cohesion and highlighting texture contrast to add depth and interest. Use precise language to evoke specific feelings—whether warmth, freshness, or indulgence—and guide the AI toward capturing those emotions.
- Emphasize vibrant, complementary colors to evoke excitement or comfort
- Highlight rough and smooth textures to create visual tension and tactile appeal
- Use descriptive words that evoke senses, such as “crisp,” “creamy,” or “juicy”
Creating Mood and Atmosphere Through Prompt Engineering
Creating mood and atmosphere in food photography hinges on your prompt choices, as these guide the AI to evoke specific feelings and settings. To craft an ambient mood, specify lighting conditions that suggest warmth, coolness, or intimacy. Use descriptive words that paint a scene, adding atmospheric depth by referencing elements like fog, haze, or soft shadows. These details help the AI generate images with a layered, immersive quality that conveys emotion and context. Focus on the overall vibe you want—rustic, elegant, cozy—and tailor your prompts accordingly. Precise language guarantees the AI captures the intended mood, transforming simple food shots into compelling visual stories with rich ambient mood and atmospheric depth.
Incorporating Props and Backgrounds in Your Prompts
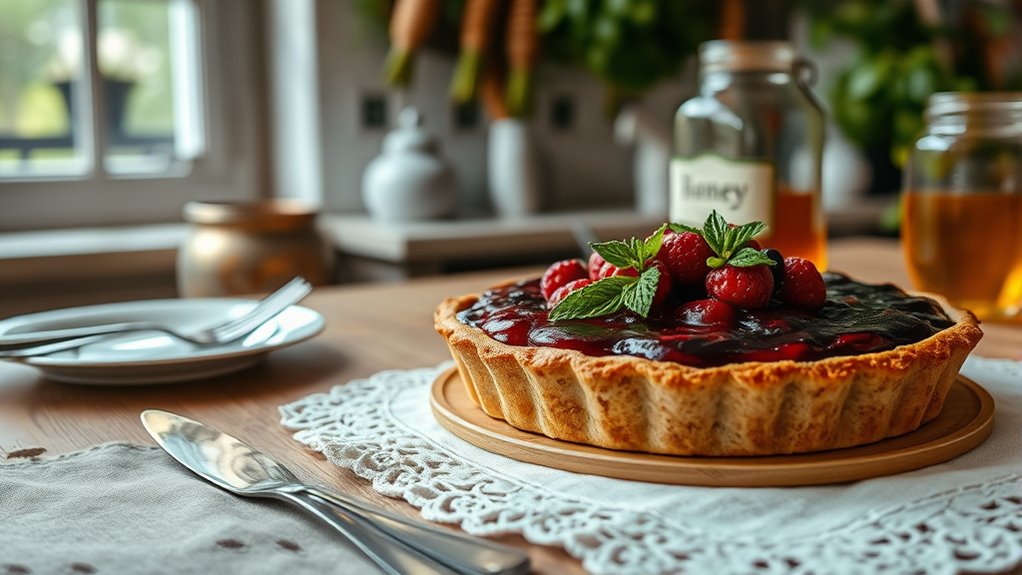
Have you considered how props and backgrounds can elevate your food photography prompts? Thoughtful props placement can highlight textures, colors, and themes, making your images more compelling. Background selection sets the mood and enhances the story behind your dish, adding depth and context. When crafting prompts, imagine the scene—choose props that complement or contrast your food for visual interest. Use props placement to guide the viewer’s eye and evoke emotion. Select backgrounds that match the style, whether rustic, modern, or playful, to reinforce your concept. Proper background selection ensures your subject stands out without distraction. By carefully integrating props and backgrounds into your prompts, you create a cohesive, inviting scene that draws viewers in and sparks their appetite.
Fine-Tuning Prompts for Consistent and Stunning Results
Ever wondered how to guarantee your food photography prompts consistently produce stunning results? Fine-tuning your prompts is key. Focus on specifying your table setting to create a cohesive scene that complements your food. Adjust details like utensils, linens, and dishes to enhance the overall presentation. Pay close attention to food composition—highlight the main elements, control the angles, and emphasize textures. Use precise language to guide lighting and styling, ensuring each shot aligns with your vision. Experiment with variations to identify what works best for different cuisines or moods. By refining your prompts with clear, targeted instructions, you’ll achieve consistent, eye-catching images that elevate your food photography game.
Frequently Asked Questions
How Do I Balance Multiple Lighting Sources in Food Photography Prompts?
To balance multiple lighting sources in your food photography prompts, focus on achieving the right light balance and shadow control. Adjust each light’s intensity to prevent one from overpowering others. Use diffusers or reflectors to soften shadows and create harmony. Position lights thoughtfully, so they complement each other and highlight textures without harsh contrasts. This approach guarantees your food looks appealing, with balanced illumination and well-controlled shadows.
What Are Common Mistakes to Avoid When Styling Food for Prompts?
Ever wonder what pitfalls can ruin your food styling? Avoid overstyling pitfalls that make dishes look cluttered or fake. Steer clear of unnatural color schemes that distract or mislead viewers. Keep it simple and authentic—your food should look inviting, not overly perfect. Pay attention to details, but don’t go overboard. Striking the right balance keeps your images appealing and genuine, enticing viewers to want a bite.
How Can I Improve Prompt Clarity for Consistent Lighting Effects?
To improve prompt clarity for consistent lighting effects, focus on specifying your desired lighting conditions clearly. Mention details like color accuracy to guarantee the lighting enhances true colors, and specify camera angles to guide the setup. Use precise language about light sources, intensity, and direction. This helps the AI understand your vision better, resulting in more consistent and appealing food images that match your expectations.
What Prompts Best Highlight Food Textures Without Overexposure?
You want to capture the richness of food textures without overexposure, so think of it as hitting two birds with one stone. Use prompts that emphasize subtle lighting and specific details, such as “enhanced texture with soft shadows” or “natural light highlighting surface details.” Focus on texture enhancement while explicitly avoiding overexposure in your prompts. This approach guarantees your food looks appetizing and detailed without losing depth or clarity.
How Do I Adapt Prompts for Different Food Types and Presentation Styles?
To adapt prompts for different food types and presentation styles, consider cultural influences that shape aesthetic preferences and presentation variations. You should specify the food’s texture, color, and serving style, tailoring prompts to highlight distinct features. Focus on details like plating, garnishes, or cultural elements to create authentic images. This approach guarantees your prompts are versatile, capturing each dish’s unique character while respecting diverse culinary traditions.
Conclusion
By mastering the art of prompt engineering, you subtly guide your food photography to captivate and delight. With thoughtful lighting, styling, and prompt adjustments, you can create images that speak volumes without saying a word. Embrace the gentle nuances of your prompts to evoke mood, texture, and atmosphere, turning simple scenes into irresistible visual stories. Keep experimenting and refining—your perfect food shot might just be a well-crafted prompt away.