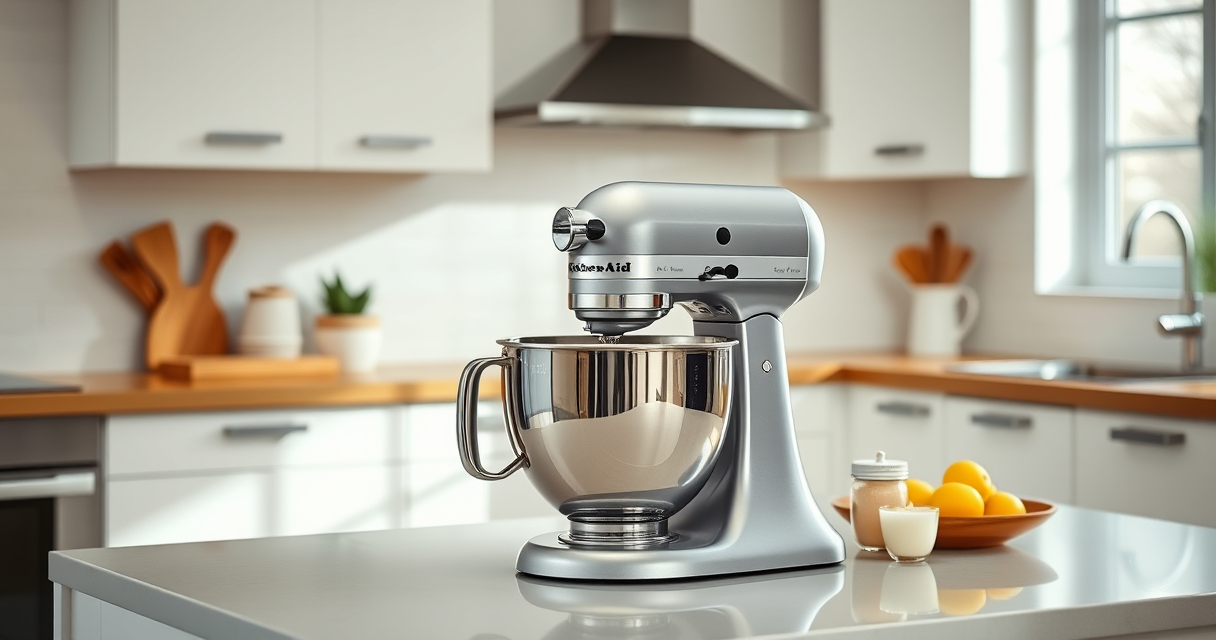

Keeping your KitchenAid Mini mixer clean is essential for optimal performance and food safety. Regular cleaning prevents buildup and ensures your appliance lasts for years to come. This guide provides clear, safe, and effective steps to clean your KitchenAid Mini without damaging it.

Get home appliances delivered free — and shop member deals
- Fast, free delivery on millions of items
- Access to Prime Big Deal Days deals on October 6–7
- Prime Video, Amazon Music and more included
Follow these instructions carefully to keep your mixer in top shape, especially after handling sticky or greasy ingredients.
Key Takeaways
| Safety First | Always unplug the mixer before cleaning. |
| Avoid Water Damage | Never immerse the motor base in water. |
| Use Proper Tools | Soft cloths and gentle brushes prevent damage. |
| Disassemble Carefully | Remove attachments and wipe thoroughly. |
| Regular Maintenance | Clean after each use for best results. |
Unplug and Disassemble
- Ensure the mixer is unplugged from the power outlet for safety.
- Remove all attachments, such as the flat beater, dough hook, or wire whisk.
- Detach the bowl from the mixer base.
Clean Attachments and Bowl
- Wash the attachments and bowl with warm, soapy water.
- Use a soft sponge or cloth to remove food residues.
- Rinse thoroughly and dry completely with a clean towel.
Wipe the Mixer Base
Moisten a soft cloth with a mild detergent solution or a mixture of water and vinegar.
Gently wipe the exterior of the mixer base, avoiding any openings or electrical components.
Use a dry cloth to remove any moisture and prevent water spots.
Clean Attachments with Dishwasher Safe Feature
The Stainless Steel Flat Beater (ASIN: B0GWH5HGS6) is dishwasher safe, making cleanup easy. Simply place it in the dishwasher or wash it by hand with warm, soapy water.
Ensure the beater is completely dry before reattaching to prevent rust or corrosion.