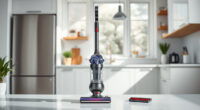
Unboxing a new Dyson V15 Detect™ Origin Cordless Vacuum is exciting, but proper setup ensures you get the best cleaning experience. This guide provides clear, practical steps to assemble, charge, and prepare your vacuum for deep-cleaning tasks around your home. Whether you’re a first-time Dyson user or upgrading from an older model, these instructions will help you get started safely and quickly.
From attaching the cleaner heads to installing filters, each step is designed to maximize your vacuum’s performance. Plus, you’ll find helpful tips and warnings to avoid common pitfalls, ensuring your Dyson operates smoothly for years to come.
Key Takeaways
| Easy assembly process | Step-by-step instructions for attaching cleaner heads and accessories. |
| Optimal charging tips | Ensure your vacuum is fully charged before first use for maximum runtime. |
| Filter maintenance importance | Regularly cleaning and replacing filters maintains suction and performance. |
| Safe handling advice | Handle battery and electrical components with care to prevent damage or injury. |
| Accessory utilization | Using compatible attachments enhances cleaning in hard-to-reach areas. |

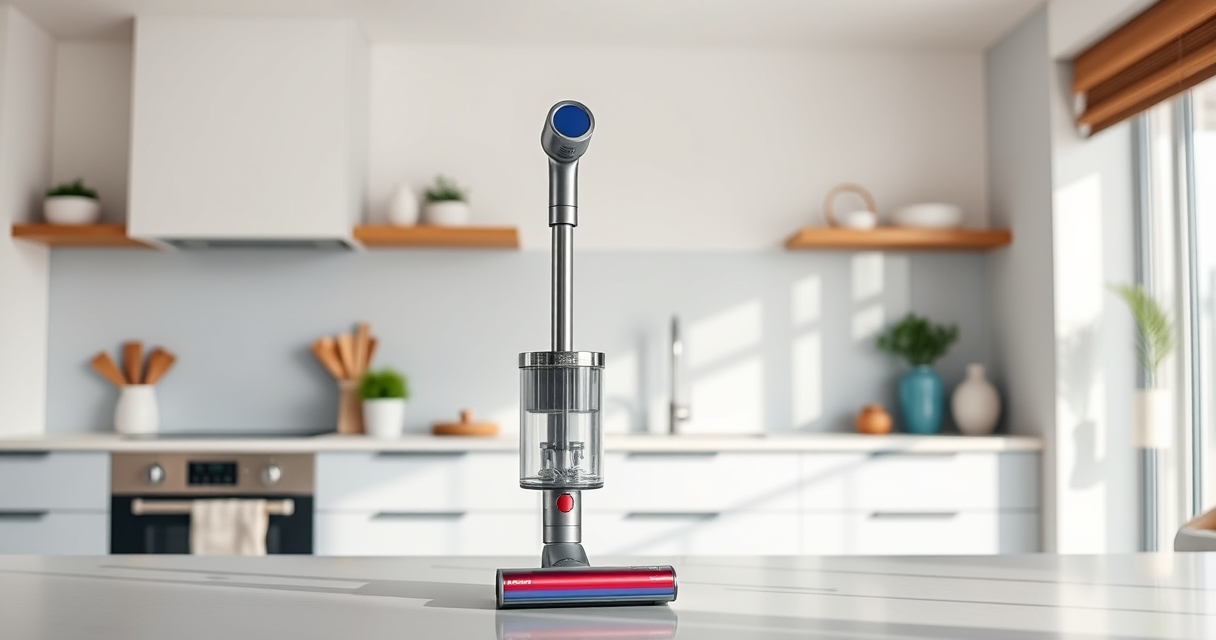
Dyson V15 Detect™ Origin Cordless Vacuum
- Deep cleaning with intelligent detection: Reveals invisible dust for thorough cleaning
- Enhanced power and runtime: 100% more power, 60-minute battery life
- Energy-efficient power trigger: Uses power only when needed
As an affiliate, we earn on qualifying purchases.
Unboxing and Assembling Your Dyson V15 Detect™
- Carefully remove the vacuum and all accessories from the packaging, checking for any protective films or packaging materials.
- Attach the main cleaner head: align the cleaner head with the extension tube, then push firmly until you hear a click. Ensure it is securely connected.
- Connect the extension tube to the handheld unit by aligning the connection points and pressing until it clicks into place.
- If you plan to use the crevice tool or other accessories, attach them to the handheld or extension tube as needed, following the same locking mechanism.
- Inspect the vacuum for any packaging tags or protective covers on the filters and remove them before first use.
Charging Your Dyson V15 Detect™ Correctly
- Locate the charging dock or cable included in your package. Plug it into a standard outlet, ensuring it is in a dry, accessible location.
- Attach the vacuum to the charging dock or connect the charging cable directly to the vacuum’s charging port.
- Allow the vacuum to charge fully before first use—this typically takes about 3.5 hours. The LCD screen will display the charging status.
- During charging, avoid moving or disconnecting the vacuum unnecessarily. Once fully charged, the battery indicator on the LCD will show maximum capacity.
- For optimal battery health, store the vacuum in a cool, dry place when not in use.
Installing and Maintaining Filters
Your Dyson V15 Detect™ features advanced filters that need regular maintenance for peak performance. To install the filters:
- Locate the filter compartment on the cyclone unit. It’s typically at the top or side of the cyclone assembly.
- Remove the existing filters (if replacing) by twisting or pulling gently, following the specific instructions in your user manual.
- Insert the new filter(s), ensuring they are aligned correctly and securely seated.
It’s recommended to wash the filters monthly with cold water, allowing them to air dry completely before re-installation. This helps maintain high suction power and prolongs filter lifespan. Replace filters every 2-3 months or as needed based on usage.
Using Accessories and Optimizing Performance
Dyson offers various attachments to enhance cleaning in different scenarios. The crevice tool (such as the LANMU Crevice Tool) is excellent for tight corners, upholstery, and vehicle interiors.
Attach accessories by clicking them securely onto the extension tube or handheld unit. Make sure the connection is firm to prevent detachment during use.
Adjust power modes via the LCD screen based on your cleaning needs—use Max mode for stubborn dirt and Eco mode for longer battery life. The LCD display also shows real-time particle count, remaining run time, and maintenance alerts, helping you use your vacuum efficiently.
Troubleshooting Common Setup Issues
- Vacuum not turning on: Ensure the battery is fully charged and the power trigger is pressed firmly. Check for any obstructions or loose connections.
- Poor suction: Clean or replace filters, and ensure all connections are secure. Confirm filters are dry and properly installed.
- LCD screen not functioning: Restart the vacuum by turning it off and on. Check for firmware updates if applicable.
- Accessories not fitting properly: Verify compatibility and ensure attachments are clicked into place correctly.
If issues persist, consult the user manual or contact Dyson support for assistance.