
To achieve café-quality microfoam at home, it is crucial to master milk steaming and frothing techniques. Use fresh, full-fat milk for rich, stable foam, and aim to keep the temperature around 140°F. Start by introducing air gradually with steady motion, then swirl the milk to eliminate large bubbles. With practice and the right tips, you’ll create smooth, velvety microfoam perfect for lattes and cappuccinos—and there’s much more to discover if you keep going.
Key Takeaways
- Use fresh, cold milk and maintain a temperature of 140°F–150°F for optimal microfoam.
- Practice steady, gentle motion with your steam wand to introduce consistent microfoam.
- Choose the right milk type—whole milk for creamier foam, skim milk for lighter froth—and experiment.
- Clean your steam wand regularly to prevent blockages and ensure smooth frothing.
- Alternatively, use simple tools like a jar or French press to froth milk effectively at home.
milk frother for home use
As an affiliate, we earn on qualifying purchases.
As an affiliate, we earn on qualifying purchases.
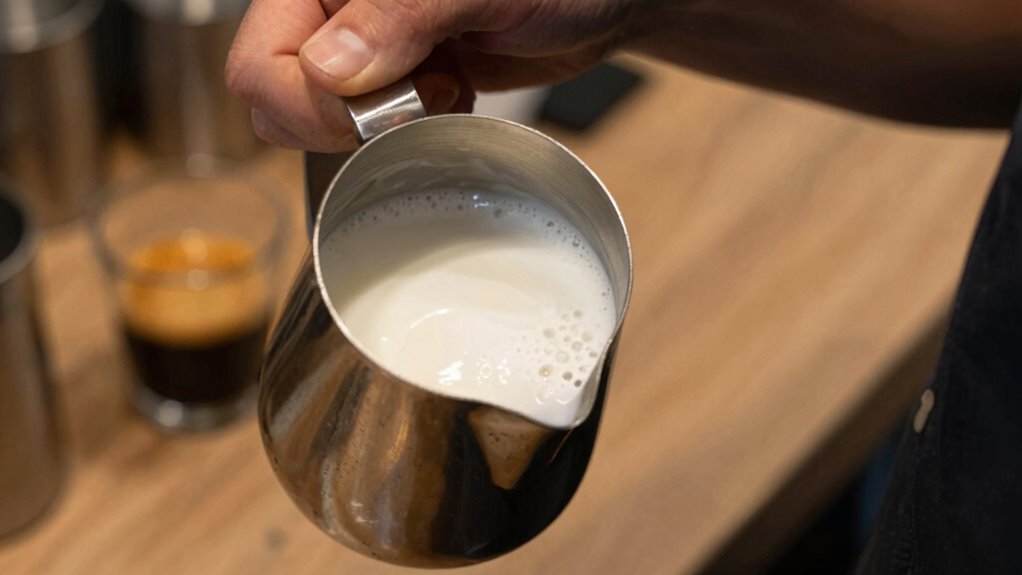
What Is Microfoam and Why Does It Matter?
What exactly is microfoam, and why is it so important in milk frothing? Microfoam is the silky, velvety milk texture created by incorporating tiny, uniform bubbles into heated milk. It’s what gives your coffee that smooth, glossy appearance and perfect mouthfeel. Achieving ideal microfoam requires mastering specific frothing techniques that focus on controlling steam and positioning the wand. When done correctly, microfoam enhances latte art and ensures your beverages look professional. It also influences how the milk integrates with espresso, delivering balanced flavor and texture. Proper frothing techniques involve understanding the science behind milk texture, which helps in creating consistent microfoam every time. Additionally, understanding how to control steam pressure is crucial for achieving the right microfoam quality. The temperature of the milk also plays a vital role in developing optimal microfoam, as it affects both texture and flavor. Without proper frothing techniques, the milk may become frothy or uneven, ruining the drink’s overall quality. Developing a keen awareness of the milk’s temperature range is essential for elevating your home barista skills and ensuring a perfect microfoam every time.
barista milk steaming wand
As an affiliate, we earn on qualifying purchases.
As an affiliate, we earn on qualifying purchases.
How to Choose the Best Milk for Frothing Success
Choosing the right milk can make all the difference in achieving perfect microfoam. For best results, consider milk fat content, as higher fat levels create creamier, more stable foam. Whole milk typically produces the richest microfoam, but if you prefer lower fat options, skim milk can still froth well, though the foam may be lighter and less durable. Milk alternatives, like almond, soy, or oat milk, vary in frothing ability—some froth beautifully, while others struggle to develop a smooth microfoam. Look for fortified or barista-style versions designed for frothing, which often contain added stabilizers or emulsifiers. Additionally, understanding the different milk types and their properties can help you select the best option for your desired foam quality. Exploring the frosting capabilities of various plant-based milks can also assist in choosing the best alternative. Experimenting with different types will help you find the milk that works best for your taste and frothing skills, bringing café-quality foam right into your home.
french press milk frother
As an affiliate, we earn on qualifying purchases.
As an affiliate, we earn on qualifying purchases.
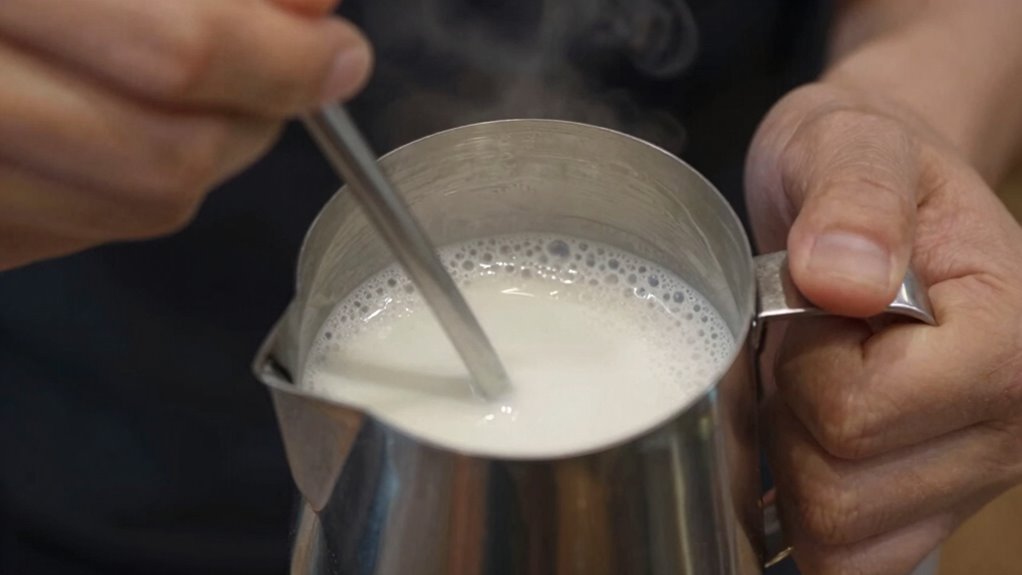
Easy Ways to Froth Milk at Home Without Fancy Equipment
Frothing milk at home doesn’t require fancy equipment; simple techniques can yield impressive results. You can create artificial frothing using a jar with a lid—just pour warm milk, seal, and shake vigorously until frothy. Alternatively, use a handheld whisk or a French press: pump or press repeatedly to introduce air and develop microfoam. For milk alternatives like almond or soy milk, choose versions with added stabilizers for better frothing, or warm them gently before frothing. These methods are quick, effective, and don’t need expensive gadgets. Keep in mind that different techniques may produce slightly varied textures, but with practice, you’ll master the art of frothing without breaking the bank. Proper temperature control can also make a significant difference in achieving smooth, velvety microfoam. Understanding pinball machine technology and techniques can help you perfect your frothing skills and troubleshoot issues effectively. Achieving café-quality microfoam at home is easier than you think, especially when you learn the right frotting techniques and how they influence foam consistency. Additionally, paying attention to frothing techniques ensures consistent and professional results. To enhance your experience, experimenting with different frothed milk textures can help you find your preferred microfoam style.
barista-style milk frothing pitcher
As an affiliate, we earn on qualifying purchases.
As an affiliate, we earn on qualifying purchases.
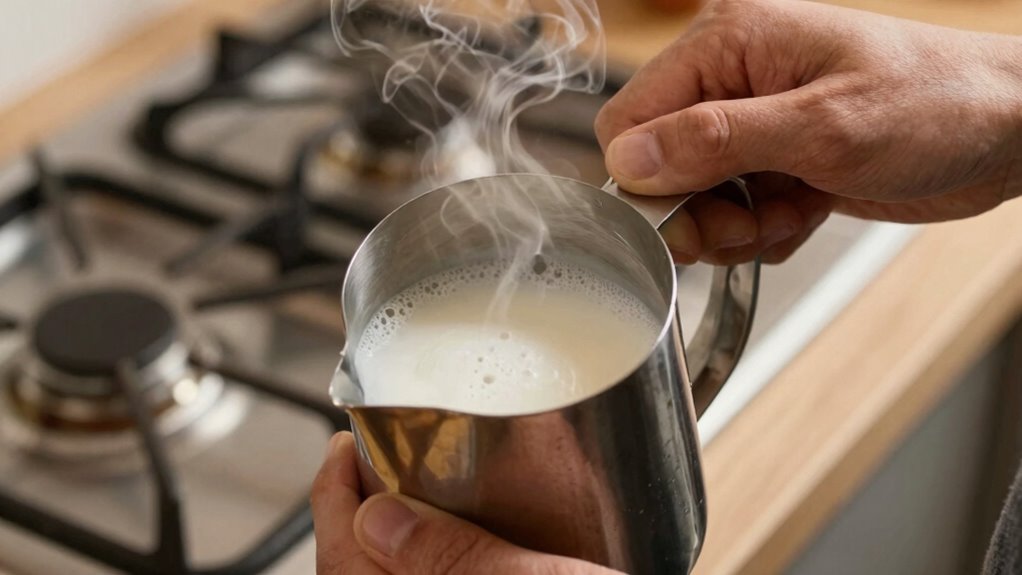
Common Frothing Problems and How to Fix Them
Even experienced home baristas encounter common issues when frothing milk, but most problems have simple solutions. Temperature issues are a frequent culprit, causing the milk to heat unevenly or too quickly, resulting in poor microfoam. To fix this, guarantee your milk reaches the ideal temperature (around 140°F) without overheating. If the milk isn’t steaming properly, it might be too cold or too hot, affecting frothing quality. Frothing noise can also be a sign of trouble—loud, squealing sounds often indicate the steam wand is clogged or the milk is not positioned correctly. Check your steam wand for blockages and make sure the tip is submerged just below the milk’s surface. Adjusting your technique and maintaining equipment will help eliminate these common problems. Additionally, understanding steam wand maintenance can prevent many issues before they start. Regular cleaning and descaling help maintain optimal performance and avoid clogs that cause steam wand malfunction. Proper maintenance and understanding of frotting techniques can further improve your microfoam quality and reduce issues. Being familiar with accessibility features can also assist users in troubleshooting and optimizing their frothing process. Incorporating proper cleaning routines into your regular maintenance will ensure consistent results and prolong the lifespan of your equipment.
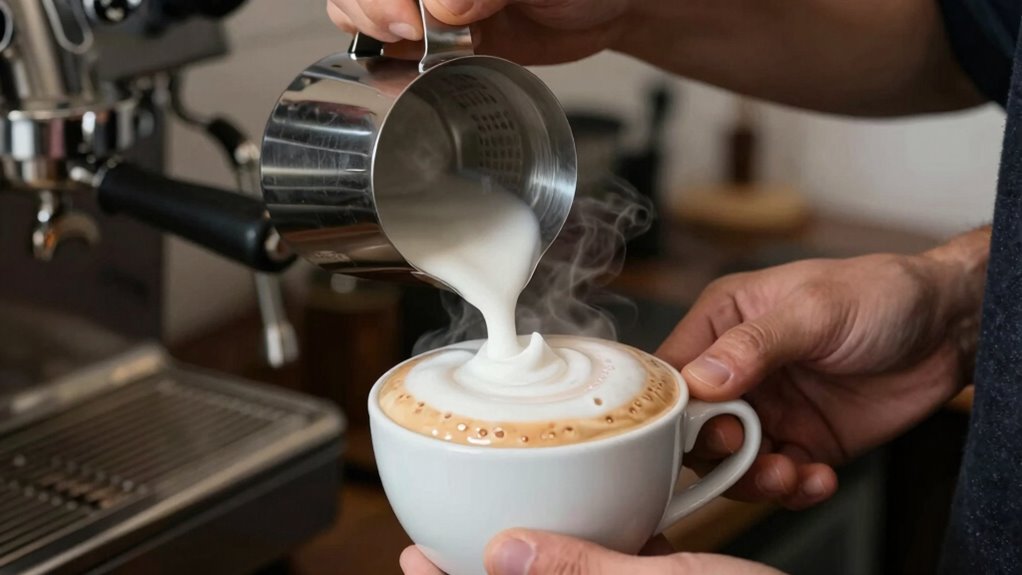
Expert Tips to Perfect Your Microfoam for Lattes and Cappuccinos

To achieve perfect microfoam for lattes and cappuccinos, focus on controlling your milk’s temperature and incorporating proper technique. Keep your milk between 140°F and 150°F; too hot, and it’ll lose the necessary sweetness and stability, too cold, and it won’t froth well. Use a steady, consistent motion when steaming, aiming to introduce air gradually to create fine, velvety microfoam. Once the milk reaches the right temperature, swirl it gently to eliminate larger bubbles and achieve a smooth, glossy texture. This microfoam is essential for latte art, allowing you to create intricate designs with precision. Practice controlling milk temperature and technique consistently, and you’ll see improvements in your latte art and overall microfoam quality, making your drinks look as professional as they taste. Additionally, using the right DIY tools such as a reliable milk frother or steam wand can help you achieve more consistent results. Proper steam wand technique also plays a crucial role in creating the ideal microfoam, so mastering your equipment can elevate your coffee craft even further.
Frequently Asked Questions
Can Non-Dairy Milk Options Create Good Microfoam?
Yes, non-dairy milk options can create good microfoam if you choose the right plant-based alternatives and master proper frothing techniques. Look for options like soy, oat, or cashew milk, which tend to froth well due to their protein content. Use a steaming wand or frother, and experiment with temperature and frothing time. With patience and practice, you’ll achieve café-quality microfoam right at home.
How Long Does It Take to Master Perfect Microfoam?
You can master perfect microfoam in a few weeks with consistent practice. Focus on controlling milk temperature and using the right frothing tools, like a steam wand or electric frother. Experiment with different techniques, paying attention to how the milk feels and sounds. With patience and regular practice, you’ll develop the skill to create smooth, glossy microfoam that rivals café quality at home.
What’s the Best Way to Store Leftover Milk for Frothing?
You might find it interesting that proper milk storage can actually improve your frothing results. To preserve leftover milk, transfer it to a clean, airtight container and keep it in the coldest part of your fridge. This leftover preservation method slows bacterial growth and maintains freshness, making your next frothing session smoother. Always give it a good smell and swirl before use to guarantee quality, and you’ll consistently get great microfoam.
Can Manual Frothers Produce Café-Quality Microfoam?
Yes, manual frothers can produce café-quality microfoam if you use proper frothing techniques. Focus on steady, consistent motion and the right technique for creating fine bubbles. Make sure to clean and maintain your frother regularly to keep it working efficiently. With patience and practice, you’ll master the art of manual frothing, achieving smooth, velvety microfoam that rivals café-quality drinks right at home.
How Do Temperature and Humidity Affect Frothing Results?
Think of frothing as a dance where temperature control is your rhythm and humidity impact is your partner’s mood. Higher temperatures can cause the milk to heat unevenly, ruining microfoam, while low humidity might make it harder for the milk to froth smoothly. You need to monitor both, adjusting your technique accordingly. With good temperature control and awareness of humidity impact, your frothing results become consistent and café-quality every time.
Conclusion
Mastering microfoam at home is easier than you think, and it can elevate your coffee game instantly. Did you know that cafes often spend hundreds of dollars on equipment, yet simple techniques can produce comparable results? With the right milk, practice, and patience, you’ll craft café-quality froth anytime. Keep experimenting, and soon you’ll enjoy perfect lattes and cappuccinos that impress everyone—without leaving your kitchen.