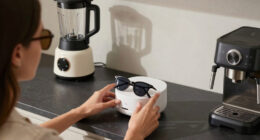

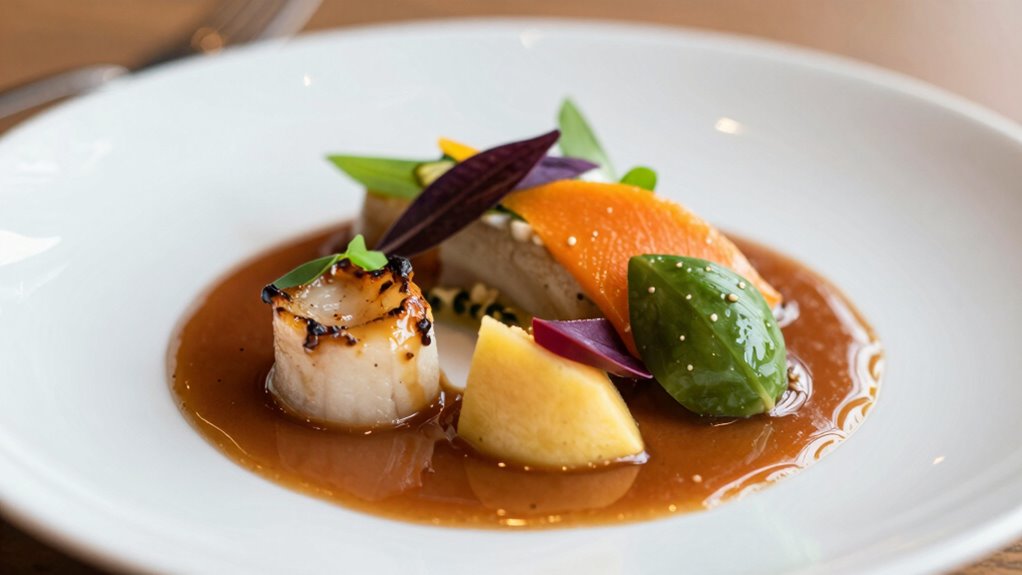
To make plates look expensive in food photos, focus on using soft, diffused lighting that highlights vibrant colors and textures. Natural light works well during the golden hours, but artificial softboxes or umbrellas guarantee consistency and control shadows. Angle your light slightly above and to the side for a gentle, luxurious glow. Use reflectors or fill lights to soften shadows and enhance detail. Mastering these setup tips will elevate your food presentation’s luxurious appearance.
Key Takeaways
- Use diffused natural or artificial light to create soft, even illumination that highlights textures and vibrant colors.
- Position light slightly above and to the side of the plate to emphasize depth and add subtle shadows.
- Incorporate reflectors or bounce cards to fill shadows and enhance details for a refined, high-end look.
- Adjust light temperature to set a warm, inviting or cool, elegant mood, depending on the desired aesthetic.
- Maintain consistent lighting setups across shots, utilizing diffusers, softboxes, and automation tools for a polished, cohesive presentation.

Torjim Softbox Photography Lighting Kit, 16'' x 16'' Professional Softbox Lighting Kit with 85W 3000-7500K LED Bulbs, Studio Lights for Photography/Video Recording/Live Streaming/Portraits Shooting
【Illuminate Your Creativity】 Torjim softbox lighting kit is made of high-quality PET fabric and a foldable nylon cover,…
As an affiliate, we earn on qualifying purchases.
As an affiliate, we earn on qualifying purchases.
Why Food Lighting Makes Your Photos Look Luxurious
Good lighting can transform a simple food shot into a luxurious image that captures attention. When you control the lighting, you create striking color contrast that makes the dish pop. Adjusting the light temperature helps set the mood—warm tones evoke comfort and richness, while cooler tones add freshness and elegance. High contrast between highlights and shadows emphasizes textures, making the food look more appetizing and sophisticated. Proper lighting highlights the vibrant colors of ingredients and enhances visual depth. This combination of color contrast and light temperature can elevate your photos from ordinary to luxurious, giving viewers a sense of quality and indulgence. Additionally, understanding contrast ratio can help photographers leverage lighting techniques to improve image depth and clarity. Mastering these elements ensures your food images look polished, appealing, and truly upscale. For best results, consider how lighting setup influences overall composition and visual impact. Proper use of lighting principles is essential for creating a refined and professional look that elevates your food photography.

Selens Soft White Diffuser Foldable Light Diffuser Light Diffusion Panel with Carry Bag, Diffuser Fabric Light Modifier for TV Production Video Studio Photography Interview Portrait Shots -31x47in…
Pop up soft light diffuser is made of high quality material for long term use. Also, outer frame…
As an affiliate, we earn on qualifying purchases.
As an affiliate, we earn on qualifying purchases.
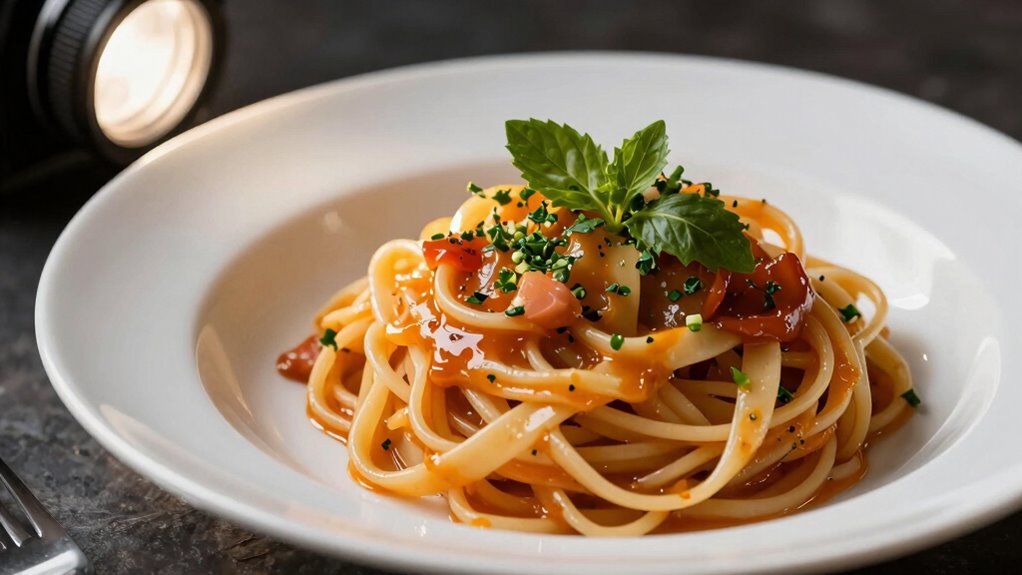
Natural vs. Artificial Lighting: Which Is Best for Food Photos?
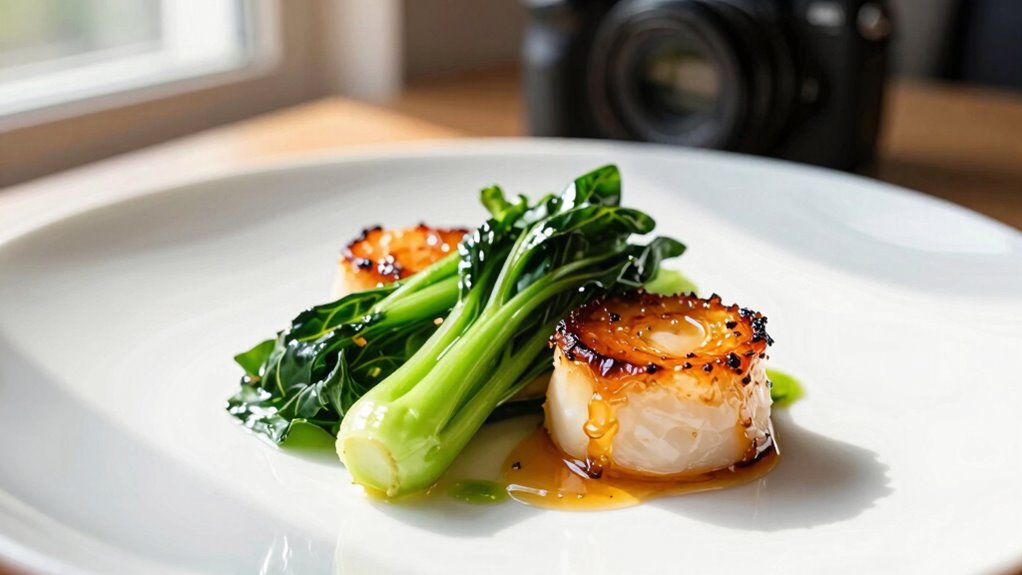
When choosing the best lighting for your food photos, you might wonder whether natural or artificial light will deliver more appealing results. Natural light offers soft, diffuse illumination that enhances depth perception, making dishes look more inviting. It also has a variable color temperature that can add warmth or coolness, depending on the time of day, giving your photos a natural, authentic feel. Artificial lighting, on the other hand, provides consistent color temperature control, allowing you to eliminate harsh shadows and fine-tune the mood. This consistency helps maintain uniformity across shots and makes it easier to create a cohesive look. Additionally, lighting consistency can be achieved with lighting control tools, which assist in setting up timed lighting conditions to achieve the perfect ambiance for your food photography. When considering lighting consistency, artificial setups can be particularly advantageous for maintaining a steady look across multiple shots. Using diffused light sources can further improve the overall quality by reducing glare and evenly illuminating your food. Moreover, understanding the lighting environment helps you select the most suitable approach for your specific space and style. Ultimately, the choice depends on your desired style and environment. Both lighting types can produce stunning results when used thoughtfully to emphasize the textures and vibrant colors of your food.
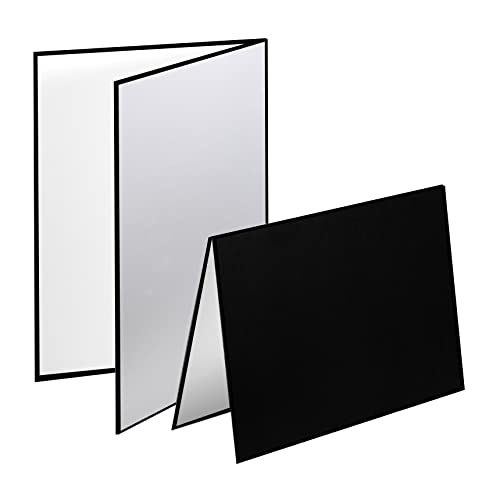
Meking 3 in 1 Photography Reflector Cardboard, 17 x 12 inches Folding Light Diffuser Board for Still Life, Product and Food Photo Shooting – Black, Silver and White, 2 Packs
3 Color in One Light Reflector: White, black and silver surface, both front and back can be used,…
As an affiliate, we earn on qualifying purchases.
As an affiliate, we earn on qualifying purchases.
How to Set Up Your Food Photography Scene for a Premium Look

Creating a polished food photo setup starts with arranging your scene thoughtfully. Use plating techniques to create visual interest and balance—layer ingredients, vary textures, and add garnishes for a sophisticated look. Set your camera with appropriate settings: use a wide aperture (like f/2.8 or f/4) to create a pleasing background blur that emphasizes the dish. Adjust ISO to keep noise low and shutter speed to prevent motion blur. Pay attention to the placement of your food, ensuring key elements are highlighted and centered if needed. Clean the scene thoroughly, removing distractions. Consistency in lighting and composition helps elevate the scene. With these steps, you’ll craft a scene that looks refined and ready for a premium presentation.
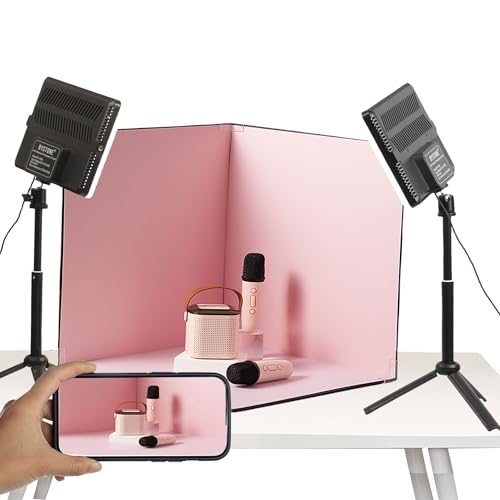
BYSTONE 16 x 16 in Photo Light Box for Product Photography, Portable Photo Studio Kit with 288 LEDs, CRI 95+ Dimmable Lighting and 15 HD Backdrops for Food Jewelry Cosmetics
16×16 in Photo Light Box for Small Product Photography: This portable photo studio light box is designed for…
As an affiliate, we earn on qualifying purchases.
As an affiliate, we earn on qualifying purchases.
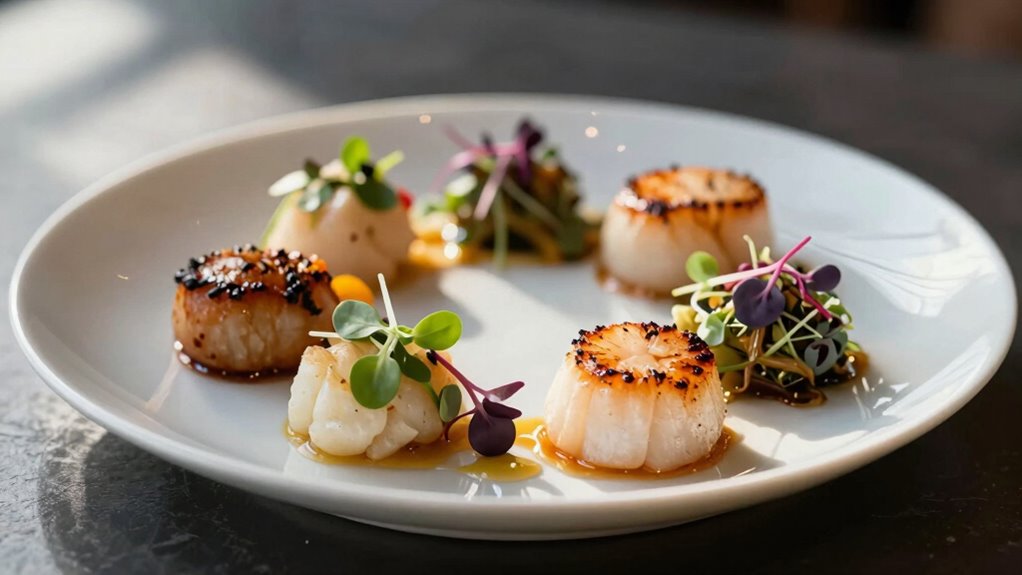
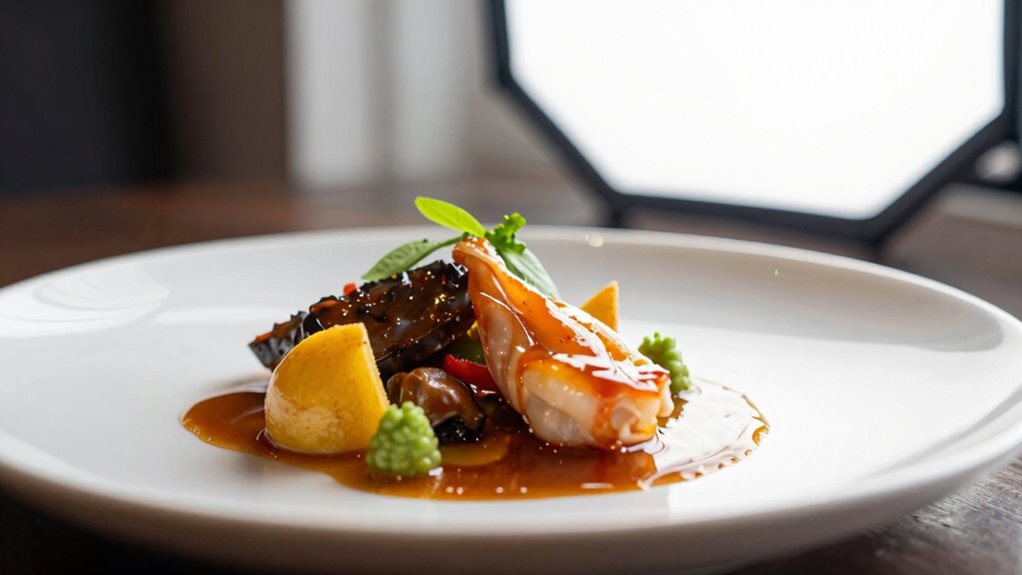
How to Angle and Diffuse Light for a Luxurious Finish
Achieving a luxurious finish in food photography hinges on properly angling and diffusing your light source. To do this, experiment with diffuse angles that soften shadows and create an even, flattering illumination. Position your light slightly above and to the side of the plate to highlight textures without harsh shadows. Use diffusers like softboxes or umbrellas to spread light evenly, reducing any hard lines. Controlling shadows is vital—you want them subtle enough to add depth but not overpower the scene. Adjust the angle and distance until you get gentle, controlled shadowing that enhances the food’s appearance. Proper diffusion and angling help create a refined, high-end look, making your dish appear more enticing and expensive.
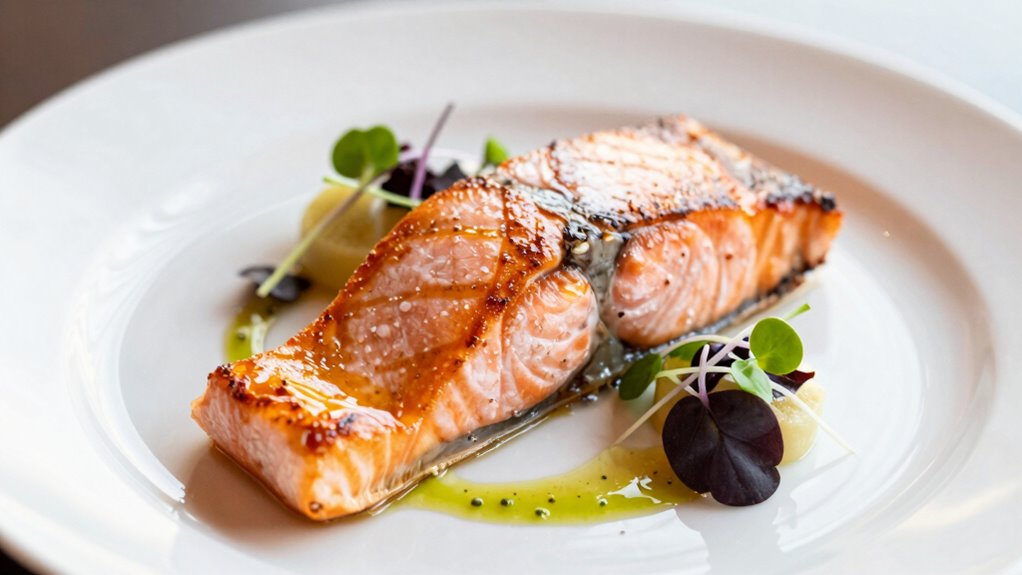
Using Reflectors and Fill Lights to Enhance Food Texture and Color
Using reflectors and fill lights can markedly enhance the texture and color of your food in photographs, ensuring that details stand out and look appetizing. Proper reflector placement is key; position reflectors opposite your main light to bounce light into shadowed areas, revealing intricate textures and vibrant hues. Fill light techniques involve adding softer, controlled light sources to reduce harsh shadows without flattening the image. Use small, white or silver reflectors for subtle enhancement or larger ones for broader coverage. Adjust the distance and angle to balance highlights and shadows, bringing out the food’s natural appeal. Incorporating light control techniques can further refine the overall effect, ensuring your food photography appears professional and appealing. Additionally, understanding lighting ratios helps create consistent and appealing images that highlight the food’s best features. Paying attention to light modifiers can also help shape the light to suit different dishes and settings, making your photos more dynamic and inviting. Experimenting with various reflector materials and positions can also add visual interest and depth to your images, making the food look even more enticing. Furthermore, utilizing diffusers can soften the light further, creating a more natural and appealing look to your dishes.
Adjusting White Balance and Exposure for a Professional Finish
Adjusting white balance and exposure is essential to giving your food photos a polished, professional look. Proper white balance ensures the colors appear natural, while correct exposure prevents images from looking too dark or washed out. To achieve this, consider these steps:
- Set your camera’s white balance to match your light source or use a custom setting for accuracy.
- Adjust exposure so your highlights aren’t blown out, and shadows retain detail.
- Use your camera’s histogram to verify proper exposure and color balance.
Common Mistakes That Make Food Photos Look Flat or Cheap
One common mistake that makes food photos look flat or cheap is neglecting the importance of proper lighting. Overexposure can wash out details, creating harsh shadows and dull colors. Shadows that are too harsh can make dishes appear unappetizing, while flat lighting flattens textures. To avoid this, pay attention to light placement and intensity. Additionally, understanding lighting techniques can help achieve a more professional and appealing look, especially when utilizing diffused lighting to create softer, more flattering illumination. Recognizing the impact of lighting angles can further enhance the depth and appeal of your food images. Implementing lighting control techniques, such as reflectors or diffusers, can also significantly improve the overall quality of your photos. Mastering light modulation allows for precise adjustments that bring out the best in your culinary presentations.
Quick Tips for Consistent, High-Quality Food Lighting
Achieving consistent, high-quality food lighting starts with understanding and controlling your light sources. Good lighting enhances plating techniques and highlights recipe styling, making dishes look irresistible. To guarantee consistency, focus on these tips: 1. Use diffused, natural light whenever possible to avoid harsh shadows. 2. Maintain a steady light angle to keep shadows and highlights uniform across shots. 3. Adjust your setup for each scene, considering plating techniques to emphasize textures and colors. Additionally, integrating smart lighting technology can help automate and optimize your lighting conditions for professional results. Being aware of lighting consistency ensures your photos maintain a cohesive, polished appearance across multiple shots. Incorporating consistent lighting setups can significantly improve the overall quality and appeal of your food photography. Moreover, paying attention to light temperature helps achieve a warm, inviting look that elevates the visual appeal of your dishes. Utilizing light control techniques allows you to fine-tune your setup and adapt to different environments, ensuring your images always look their best.
Frequently Asked Questions
What Are the Best Light Sources for Different Types of Food?
You should use natural light for fresh, vibrant foods to enhance color harmony and highlight textures. For richer, cooked dishes, soft diffused artificial light works best, creating a warm, appetizing feel. Experiment with reflectors or bounce boards to control shadows and add depth. Proper lighting accentuates food styling details and guarantees the colors pop, making your dishes look more appealing and expensive.
How Can I Create a Luxury Feel on a Budget?
You can create a luxury feel on a budget by focusing on luxury textures like velvet or silk for backdrops, which add richness without high costs. Use affordable props like elegant ceramics or metallic utensils to elevate your scene. Proper lighting, such as natural light or soft diffused sources, enhances these elements, making your food appear more upscale. Thoughtful composition and attention to detail will also help craft that high-end vibe affordably.
What Camera Settings Optimize Food Lighting Effects?
Ever wondered how to make your food pop in photos? You should control your aperture to keep the focus sharp and create a pleasing background blur, highlighting your dish. Adjust your white balance to match the lighting, ensuring colors look natural and appetizing. Use a smaller aperture (like f/2.8 to f/5.6) for a crisp image, and set white balance for daylight or tungsten depending on your light source.
How Do Shadows Influence the Perception of Luxury in Food Photos?
Shadows play a key role in making food photos look luxurious by adding shadow depth and contrast enhancement. When shadows are well-defined and strategically placed, they create a sense of dimension and richness, making dishes appear more appetizing and expensive. You should experiment with light angles to deepen shadows without overwhelming the scene, ensuring the contrast highlights textures and details that evoke a premium feel.
Can LED Lights Mimic Natural Sunlight Effectively for Food Photography?
Yes, LED lights can effectively mimic natural sunlight for food photography. Their versatility allows you to adjust color temperature and intensity, creating a sunlight-like glow that enhances your dishes. With proper positioning and diffusing, LEDs can replicate the warmth and softness of sunlight, making your food look more appealing and luxurious. This flexibility guarantees consistent results, even in controlled environments, giving your photos an authentic, high-end feel.
Conclusion
So, there you have it—your secret weapon to make even the most ordinary meal look like a five-star feast. Just remember, perfect lighting won’t turn a bad dish into a masterpiece, but it sure can make a good one look expensive. No pressure, right? Keep experimenting, stay patient, and soon you’ll be snapping photos that make your friends wonder if you hired a professional. Who knew lighting could be so powerful—and so fun?