Dough hydration is the percentage of water relative to flour in your recipe, and it’s the one number that truly influences your bread’s texture, crust, and structure. A higher hydration makes the dough stickier and more extensible, leading to lighter, airier loaves with open crumb. Lower hydration results in denser bread with a tighter crumb. Understanding and adjusting this number helps you control your final bake—keep exploring to master this vital element.
Key Takeaways
- Dough hydration is expressed as a percentage of water relative to flour weight, directly affecting dough texture and handling.
- Higher hydration levels produce lighter, more open crumb bread with larger holes.
- Proper hydration promotes gluten development, increasing dough elasticity and extensibility.
- Over-hydration can cause slack dough and crust cracking, while under-hydration results in dense, stiff dough.
- Precise measurement and adjustment of water-to-flour ratio are essential for consistent, high-quality baking results.
What Is Dough Hydration and Why Is It Important?
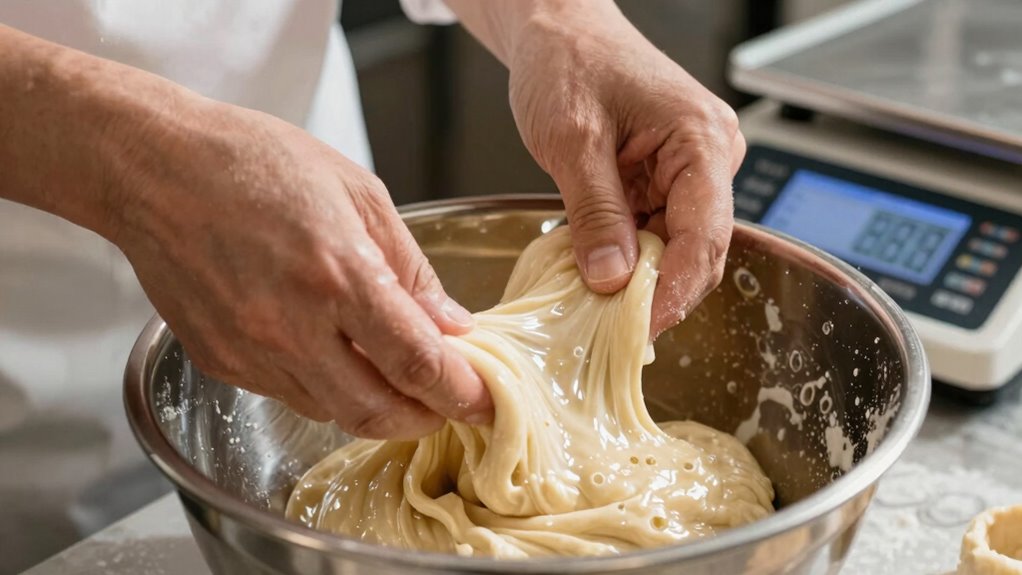
Dough hydration refers to the ratio of water to flour in a recipe, expressed as a percentage. This percentage impacts the dough’s texture, elasticity, and overall handling. Higher hydration levels make the dough stickier and more extensible, which can be ideal for certain bread styles like ciabatta or focaccia. The flour’s protein content plays a key role here; higher protein flours absorb more water, affecting hydration levels. Your kneading techniques also influence dough development—well-kneaded dough develops gluten networks that trap water effectively, resulting in better structure. Understanding hydration helps you choose the right flour and adjust techniques to achieve the desired dough consistency. Mastering this balance guarantees better fermentation, rise, and ultimately, a more satisfying final product. Additionally, dough elasticity is closely linked to hydration, influencing how the dough stretches without tearing.
How to Calculate Dough Hydration Percentage Step-by-Step

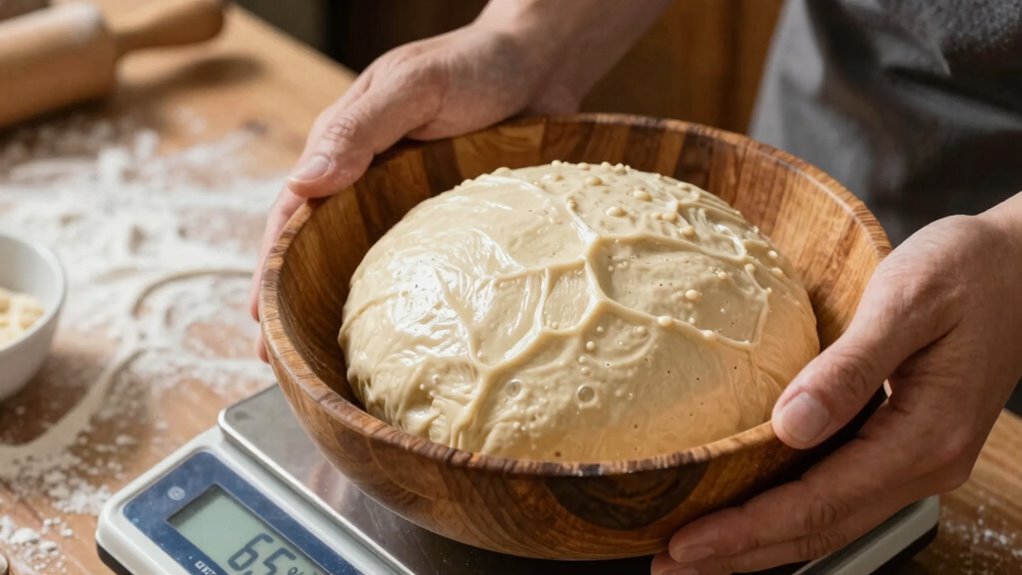
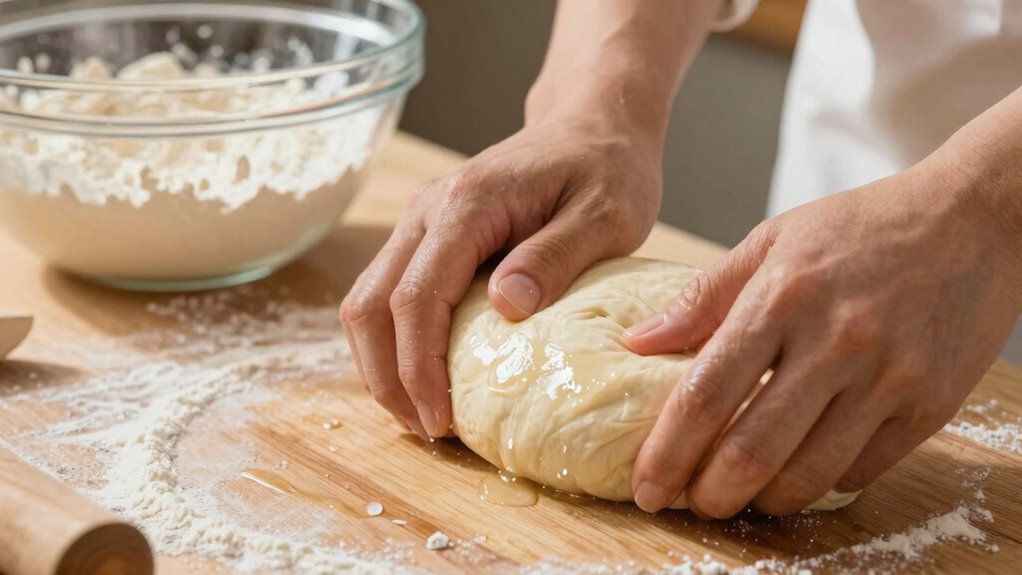
To accurately determine the hydration percentage of your dough, you’ll need to measure the water and flour used in your recipe carefully. First, weigh your flour precisely, considering its flour absorption rate, which affects how much water it can hold. Measure the water at the recommended temperature—lukewarm water promotes better gluten development and yeast activity. To calculate the hydration percentage, divide the water weight by the flour weight, then multiply by 100. For example, if you use 500 grams of flour and 350 grams of water, your calculation is (350 ÷ 500) × 100 = 70%. This simple step helps you understand and control your dough’s consistency, ensuring ideal texture and crust. Accurate measurements and water temperature influence dough hydration and overall baking success. Understanding emerging trends in digital publishing can also help you access innovative tools for recipe development and content sharing. Additionally, paying attention to dough handling techniques can improve your baking results significantly, especially when working with versatile Suprem fabric in your apparel creations.
How Hydration Levels Affect Dough Texture and Crust
Higher hydration levels make your dough open and airy, resulting in a lighter crumb. However, too much moisture can cause your crust to crack during baking. Finding the right balance helps you achieve the perfect texture and crust without unwanted flaws. Additionally, understanding creative storytelling can help you better communicate your baking journey and connect with your audience. Paying attention to hydration levels is essential for consistent results and mastering your craft. Recognizing how dough elasticity influences handling and rise can further improve your baking outcomes. Incorporating fermentation techniques can also enhance flavor and texture, leading to more reliable and delicious results. Implementing wealth protection strategies can also ensure that your baking business remains secure and profitable over time.
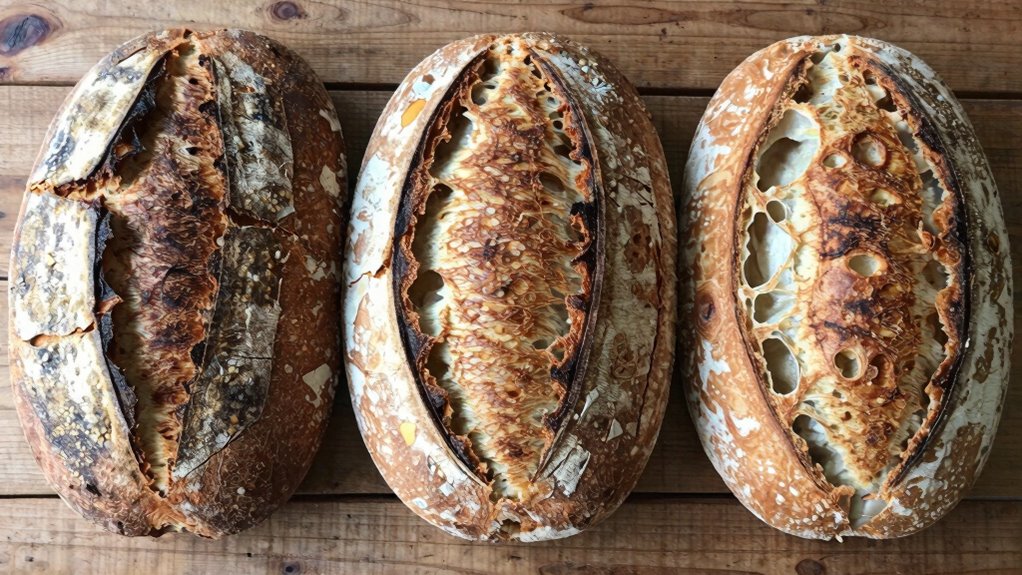
Crumb Texture Variations
When hydration levels increase, the resulting crumb texture and crust undergo noticeable changes. Higher hydration produces a more open, airy crumb with larger holes, enhancing crumb openness. You’ll notice a softer, more pliable dough that can stretch easily, leading to a lighter interior. This also influences the Baguette crust, making it thinner and crisper, with a desirable shine. Conversely, lower hydration yields a denser crumb with smaller holes and a chewier texture. To maximize crumb variation, consider these factors:
- Increased hydration promotes larger, irregular holes.
- Higher hydration results in a softer, more delicate crumb.
- Crust becomes thinner and crustier with more hydration.
- Hydration levels influence gluten development and dough extensibility, affecting overall bread texture.
- Understanding watt-hours and capacity can help in choosing equipment that maintains consistent hydration during baking.
- Proper hydration management is essential for achieving consistent and desirable bread qualities.
- Monitoring hydration consistency throughout the mixing and fermentation process ensures predictable results.
- Maintaining optimal hydration also involves controlling the water-to-flour ratio, which is critical for consistent dough behavior.
Adjusting hydration lets you control the crumb’s openness and the crust’s texture, tailoring bread to your preference.
Crust Cracking Risks
As hydration levels increase, the dough becomes softer and more elastic, which can influence the development of the crust during baking. Too much hydration can lead to crust cracking, especially if the hydration balance isn’t maintained. High-hydration doughs tend to produce a thinner, more fragile crust prone to splitting. Managing hydration helps prevent these cracks, ensuring a smooth, even crust. Proper hydration management is essential to control dough consistency and achieve optimal baking results. Additionally, understanding the importance of gluten development can further improve the dough’s structure and resilience. Recognizing the significance of dough elasticity can also assist bakers in adjusting hydration levels for better texture and crack prevention. Here’s a visual to understand the impact:
| Hydration Level | Crust Texture | Cracking Risk |
|---|---|---|
| Low (50-55%) | Thick, sturdy | Minimal |
| Moderate (60-65%) | Balanced, soft | Low |
| High (70%+) | Thin, delicate | Higher |
| Very high | Runny, sticky | Very high |
| Ideal | Crispy, even | Controlled |
Maintaining hydration balance is key to avoiding crust cracking and achieving a perfect bake. Proper backyard transformation essentials can also improve the overall baking environment and results.
How Different Hydration Percentages Influence Gluten Development
As you increase hydration, the gluten network forms more easily, giving your dough better structure. Higher hydration also makes the dough more elastic, which can affect how it stretches and holds its shape. These changes influence the crumb texture, making it lighter and more open or denser depending on the hydration level. Additionally, understanding the brewing methods used can help you optimize the dough’s performance during fermentation and baking. Recognizing how smart home devices can assist in monitoring fermentation conditions can further enhance your baking process. Incorporating climate considerations can also be crucial, as ambient humidity and temperature significantly impact dough behavior and fermentation times. For example, humidity control devices can help maintain optimal conditions for consistent results, especially when managing various essential oils that may be used in related culinary or aromatherapy practices.
Gluten Network Formation
Different hydration levels profoundly affect how gluten networks form in dough. When hydration is ideal, gluten proteins develop strong, interconnected networks that provide structure. Higher hydration encourages more water to interact with glutenin and gliadin, enhancing gluten network formation. This results in dough with improved elasticity and extensibility. Conversely, low hydration limits water availability, leading to weaker gluten bonds and less dough elasticity. You’ll notice that:
- Increased hydration creates a more extensible, airy dough
- Low hydration yields a tighter, stiffer texture
- Proper hydration promotes even gluten development for better rise
Understanding these effects helps you control dough strength and flexibility. Balancing hydration ensures your gluten network forms properly, giving your baked goods the desired texture and structure. Ultimately, hydration is the key to mastering consistent, high-quality dough.
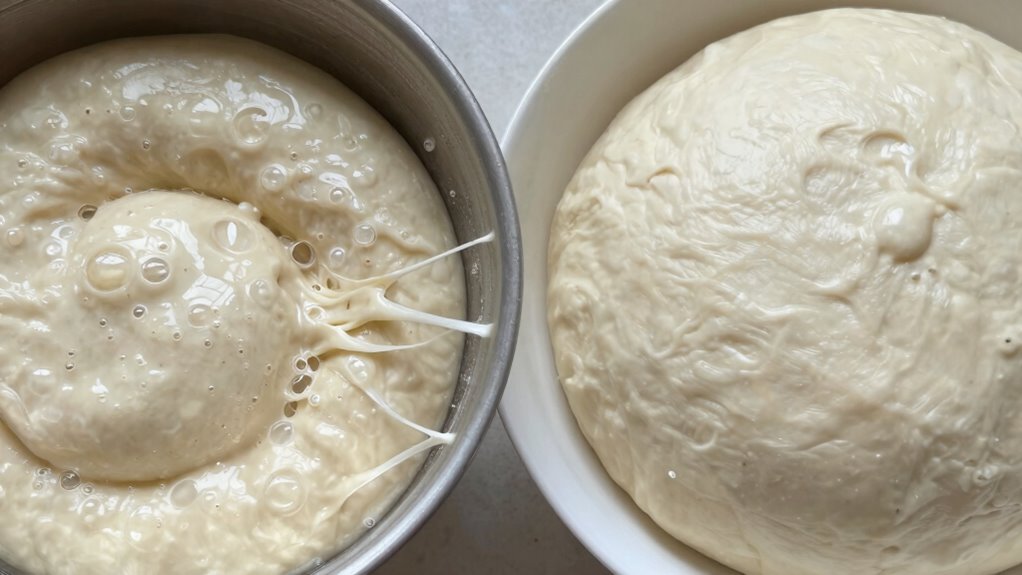
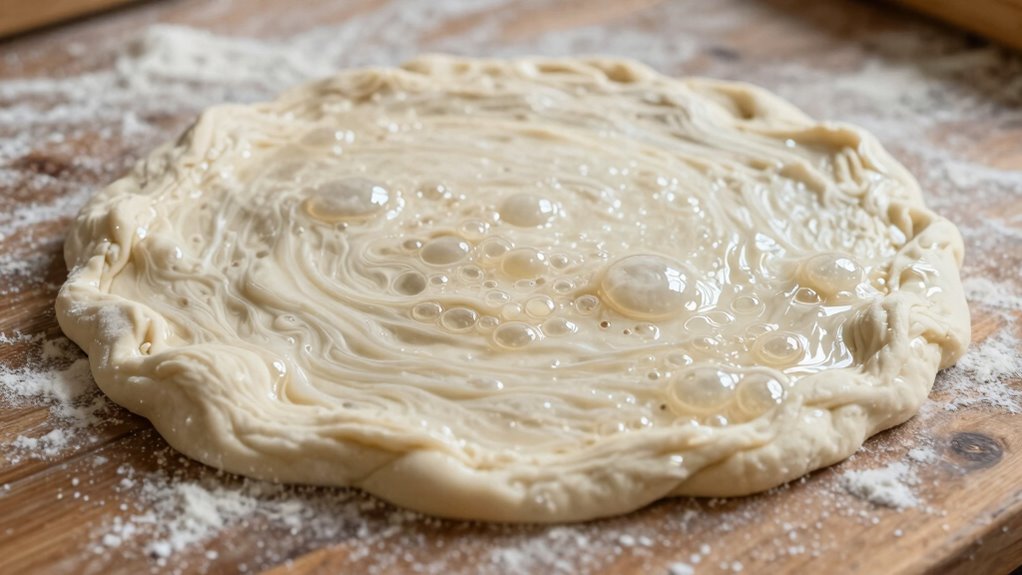
Dough Elasticity Changes
Hydration levels directly influence how elastic your dough becomes during mixing and kneading. Higher hydration generally increases dough elasticity, making it stretchier and more extensible. This is because more water allows gluten strands to align better, creating a stronger gluten network. Water absorption also plays a critical role in how the dough develops its structure and texture. When hydration reaches optimal levels, it can significantly improve dough extensibility, resulting in a more open crumb structure in the final bread. Proper hydration also facilitates more effective gluten development, which is essential for achieving optimal dough structure and bread quality. Additionally, understanding the role of water in gluten formation can help bakers fine-tune hydration for different bread types. Conversely, lower hydration results in a firmer, less elastic dough that’s easier to handle but less extensible. Fermentation effects also play a role; as the dough ferments, gluten relaxes and develops more flexibility, enhancing elasticity over time. Different hydration percentages can alter how the dough responds during shaping and proofing. Understanding these changes helps you control dough elasticity, ensuring your final bread has the desired texture. Adjust hydration carefully to balance elasticity and strength for ideal fermentation and baking results.
Crumb Texture Variations
Varying hydration levels substantially impact the crumb texture of your bread by shaping how gluten develops during mixing and fermentation. Higher hydration results in a more open crumb structure with larger holes, creating a light, airy texture. Lower hydration produces a denser crumb with a tighter crumb structure, making the bread more compact. The crust quality also differs: wetter dough tends to develop a thinner, crisper crust, while drier dough yields a thicker, chewier crust. To understand these effects better, consider these factors:
- Increased hydration enhances gluten elasticity, producing a more open crumb.
- Lower hydration limits gluten development, leading to a firmer crumb.
- Crust quality varies with moisture content, influencing crunchiness and color.
Adjusting hydration allows you to control your bread’s crumb and crust, tailoring texture to your preference.
Choosing the Right Dough Hydration for Your Baking Style
Choosing the right dough hydration depends on your baking style and the type of bread you want to produce. Higher hydration levels work well with flours that have strong gluten, which can handle more water without becoming too slack. Consider the quality of your flour—better quality flour generally absorbs water more efficiently, allowing for a higher hydration dough. Yeast activity also plays a role; more active yeast can ferment faster, so a wetter dough might need adjustments to prevent overproofing. If you’re aiming for a light, open crumb, opt for higher hydration, but if you prefer a denser loaf, lower hydration might be better. Adjusting hydration based on your flour and yeast activity helps you achieve consistent results aligned with your baking style. Understanding dough hydration is essential for optimizing your bread-making process.
Signs Your Dough Is Under-Hydrated or Over-Hydrated
Understanding the signs of under- or over-hydrated dough is essential for achieving the perfect bake. When dough is under-hydrated, it feels stiff, crumbly, and resists shaping, leading to longer fermentation timing. Over-hydrated dough, on the other hand, appears slack, sticky, and difficult to handle, which can cause over-fermentation or collapse. To gauge hydration issues, look for these clues:
- Excessive stickiness or dryness during mixing
- Poor gluten development despite proper kneading
- Changes in fermentation timing, like overly rapid or sluggish rise
Adjusting ingredient substitutions, like adding water or flour, can help correct hydration. Recognizing these signs early ensures you tweak hydration levels, improving fermentation and overall baking results.
Tips for Adjusting Dough Hydration to Get Perfect Results

To perfect your dough, start by adjusting the water content until it feels just right. Using the autolyse technique can improve gluten development and hydration, making your dough easier to work with. Keep an eye on the dough’s consistency, and make small adjustments to guarantee it’s neither too sticky nor too stiff.
Adjust Water Content
Have you ever ended up with a dough that’s too sticky or too dry? Adjusting water content is key to achieving perfect dough. To get it right, consider these tips:
- Monitor fermentation control; over-fermented dough may need less water to maintain structure.
- Adjust ingredient ratios; if using high-protein flour, you might need a bit more water.
- Add water gradually, mixing thoroughly after each addition, to avoid overshooting.
Use Autolyse Technique
Using the autolyse technique can considerably improve dough hydration and overall texture. By mixing flour and water and letting them rest before adding salt and yeast, you enhance gluten development naturally. This resting period allows the flour to fully hydrate, making the dough easier to handle and shaping more consistent. Adjusting fermentation timing during autolyse can also influence flavor development, as a longer rest encourages deeper, more complex tastes. Proper autolyse helps achieve a balanced hydration level, reducing the need for excessive kneading later. Keep in mind that this method simplifies hydration adjustments, giving you better control over dough consistency and final aroma. Incorporating autolyse into your process is a straightforward way to improve dough quality and optimize fermentation timing for superior results.
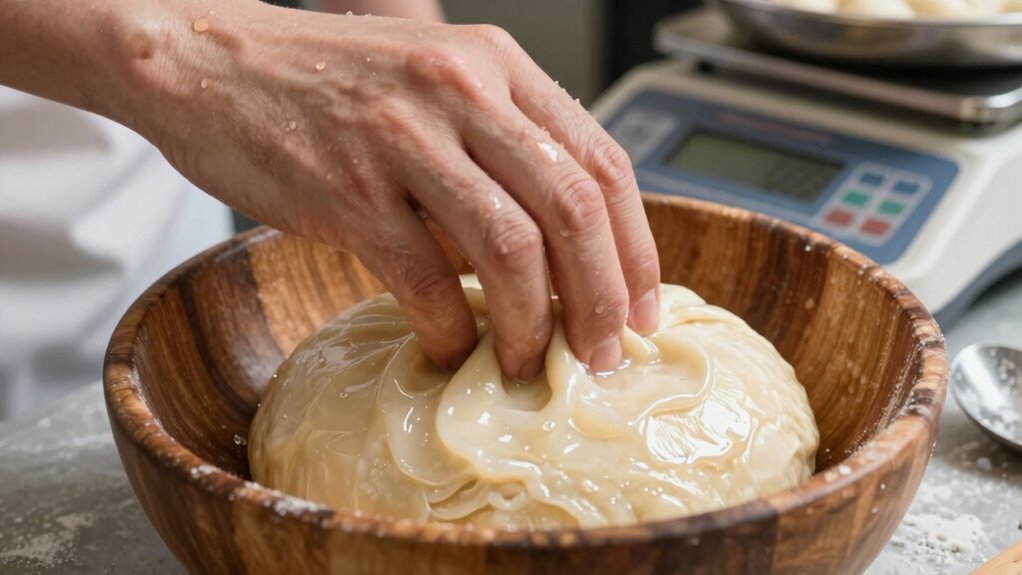
Monitor Dough Consistency
Monitoring dough consistency is essential for achieving the perfect bake, especially when adjusting hydration levels. You need to pay attention to how the dough feels and behaves during fermentation, as this impacts ingredient ratios and fermentation timing. To fine-tune hydration:
- Check if the dough is sticky or firm, adjusting water or flour accordingly
- Observe how it develops during fermentation—overly slack dough may need less water
- Feel for elasticity and extensibility to ensure proper gluten development
These cues help you determine if your hydration is on point or needs tweaking. Remember, slight adjustments in ingredient ratios and timing can make a big difference in dough consistency, leading to better fermentation and a more desirable final texture.
Tools and Techniques to Measure and Control Dough Hydration
Accurately measuring and controlling dough hydration is essential for consistent baking results, and there are several tools and techniques available to help you achieve this. A digital scale is key for precise hydration measurement, allowing you to weigh ingredients accurately. Using a hydrometer or refractometer can provide immediate insights into the dough’s water content, helping you monitor dough consistency. The stretch test is a simple technique where you gently pull the dough to assess its extensibility—indicators of hydration level. Keeping notes on water ratios and observing how dough feels during mixing also aids in controlling hydration. Combining these tools and techniques ensures you can fine-tune your dough, achieving the perfect balance for ideal texture and structure.
Troubleshooting Common Dough Hydration Problems
Even with precise measurements and careful control, dough can still present hydration issues that affect your baking. These problems often stem from misunderstandings of hydration science and flour absorption rates. Common issues include sticky, hard, or dry dough, which can be frustrating. To troubleshoot, consider these factors:
Even with precise measurements, flour type and environment affect dough hydration.
- Flour type and its absorption capacity: Different flours absorb water differently, impacting hydration levels.
- Incorrect measurements: Even small errors in water measurement can throw off your dough’s consistency.
- Environmental factors: Humidity and temperature influence flour’s absorption and dough behavior.
How to Master Dough Hydration for Consistent Baking Success
Mastering dough hydration is essential for achieving consistent baking results, and it starts with understanding how different factors influence water absorption. Flour types play a significant role; for example, bread flour absorbs more water than cake flour, affecting hydration levels. To master this, adjust your water based on the flour you use, aiming for the right dough consistency. Fermentation time also impacts hydration; longer fermentation allows gluten development, which can change how the dough absorbs water. As you experiment, keep notes on how different flours and fermentation durations affect hydration. This awareness helps you fine-tune your recipes for consistent results. Ultimately, understanding these factors enables you to adapt your hydration levels confidently, ensuring every bake achieves the desired texture and structure.
Frequently Asked Questions
Can Hydration Levels Be Changed During the Mixing Process?
Yes, you can change hydration levels during mixing by adjusting your mixing techniques. For example, if the dough seems too dry or sticky, you might add small amounts of water gradually, maintaining hydration stability. This approach allows you to fine-tune the dough’s texture, ensuring peak gluten development and fermentation. Keep a close eye on consistency, and remember that hydration can be adjusted even mid-mix to achieve your desired dough quality.
How Does Altitude Affect Dough Hydration Calculations?
Altitude affects dough hydration because lower air pressure increases water evaporation and absorption. You should make altitude adjustments by slightly reducing water content or increasing flour to compensate for water loss. This guarantees proper dough consistency and fermentation. Keep in mind that water absorption varies with altitude, so test and tweak your recipe accordingly to achieve ideal dough texture and fermentation at higher elevations.
Are There Different Hydration Needs for Gluten-Free Baking?
Did you know gluten-free dough often needs higher hydration levels, sometimes up to 90%, to develop proper gluten-like structure? You should adjust your hydration to improve gluten development and dough elasticity since gluten-free flours lack natural gluten. Adding extra water helps create a more cohesive dough, enhancing elasticity and making your baked goods less crumbly. So, don’t be afraid to experiment with hydration for better gluten development!
What’s the Impact of Hydration on Fermentation Time?
Higher hydration speeds up fermentation because the extra water makes the yeast work more efficiently, reducing fermentation time. It also enhances dough elasticity, making it easier to shape and improve crumb structure. Conversely, lower hydration slows fermentation, requiring more time for flavors to develop. So, adjusting dough hydration directly influences how quickly fermentation occurs and how elastic your dough becomes, impacting the final texture and flavor.
How Do Ingredients Like Oil or Sugar Influence Hydration?
Oil influence and sugar impact dough hydration by altering how water interacts with the ingredients. Oil coats flour particles, reducing water absorption and making the dough less hydrated, which can affect texture. Sugar impact is similar; it binds water and competes with gluten, decreasing overall hydration. As a result, you might need to adjust water amounts to achieve the desired dough consistency when adding oil or sugar.
Conclusion
Mastering dough hydration is like tending a delicate garden; with the right balance, your bread blooms beautifully. Think of hydration as the water that awakens your dough’s potential, shaping its strength and texture. When you pay attention to this single number, you’re nurturing a masterpiece. Embrace the process, experiment, and watch your baking flourish—because in every loaf, hydration is the seed that makes your baking dreams grow into reality.