To stop shaky footage in your overhead cooking videos, you need a stabilizing rig designed for smooth, professional-looking shots. Look for one that’s sturdy, easy to adjust, and compatible with your camera or smartphone. Securing the rig properly, using weights or clamps, and setting up good lighting can make a huge difference. Want to learn how to assemble and optimize your rig to achieve perfect, steady footage? Keep going for expert tips and step-by-step guidance.
Key Takeaways
- Use a sturdy, adjustable overhead rig to secure your camera and prevent unwanted movement during filming.
- Mount the rig to a stable surface or ceiling to ensure consistent, shake-free footage.
- Incorporate weights or clamps to minimize sway and improve stability.
- Adjust camera height and angle for optimal framing and lighting before recording.
- Test the setup with a short recording to verify stability and lighting quality, making adjustments as needed.

NEEWER Overhead Camera Mount Rig for Top Down Shots, Heavy Duty Steel Tabletop Mount Stand Multi Device Platform for Flat Lay Photography Lighting Cooking Drawing Crafts, For Desks≥3.3'/1m Long, ST100
【Professional Tabletop Overhead Camera Mount Rig】 NEEWER ST100 Overhead Camera Tabletop Stand features a durable steel construction and…
As an affiliate, we earn on qualifying purchases.
As an affiliate, we earn on qualifying purchases.
Why Shaky Footage Ruins Your Overhead Cooking Videos
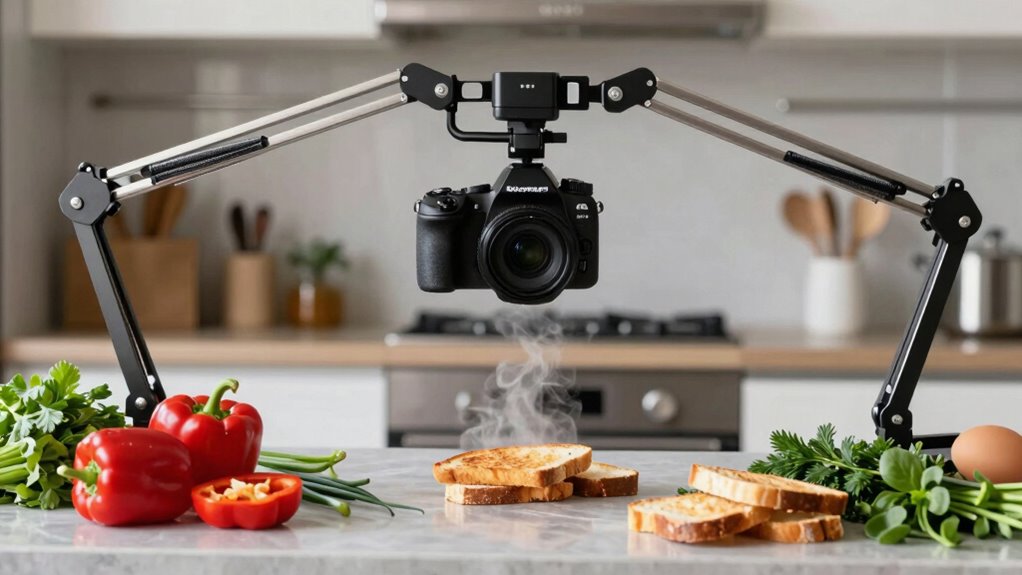
Shaky footage can considerably undermine the quality of your overhead cooking videos, making them difficult to watch and less professional. Poor camera angles caused by instability can distort the view, making it hard for viewers to follow your cooking process. Additionally, shaky footage hampers your ability to properly showcase lighting techniques, which are essential for highlighting textures and colors. When your shots wobble or jitter, it distracts viewers and diminishes credibility. Consistent, stable footage ensures your camera angles remain precise, capturing every detail clearly. Proper stabilization allows you to focus on ideal lighting, enhancing visual appeal. Using a rig that stops shaky footage can help you achieve this stability effortlessly, especially when combined with energy-efficient technology that supports sustainable content creation. Incorporating smart home automation can also facilitate smoother filming environments by controlling lighting and climate for optimal conditions. Investing in advanced stabilization tools can significantly improve your filming experience and output quality. Furthermore, ensuring your setup includes proper mounting techniques helps maintain steady shots from the start, reducing the need for post-production stabilization. Ultimately, smooth footage makes your videos more engaging, easier to follow, and gives a polished, professional appearance that keeps viewers interested.
ULANZI U Rig Pro Smartphone Video Rig, Filmmaking Vlogging Case, Phone Video Stabilizer Grip Tripod Mount for Videomaker Film-Maker Video-grapher with Cold Shoe Mount for iPhone Samsung and More
Versatile Mounting Options: The Ulanzi NEW Version U Rig Pro offers 3 cold shoe mounts and is a…
As an affiliate, we earn on qualifying purchases.
As an affiliate, we earn on qualifying purchases.
How a Stabilizing Overhead Rig Keeps Your Shots Smooth and Professional
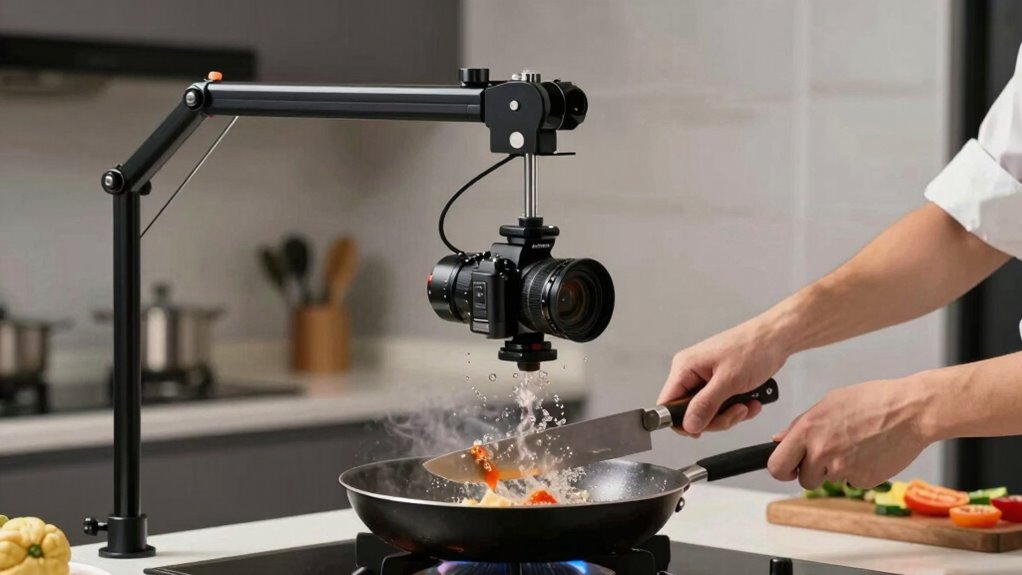
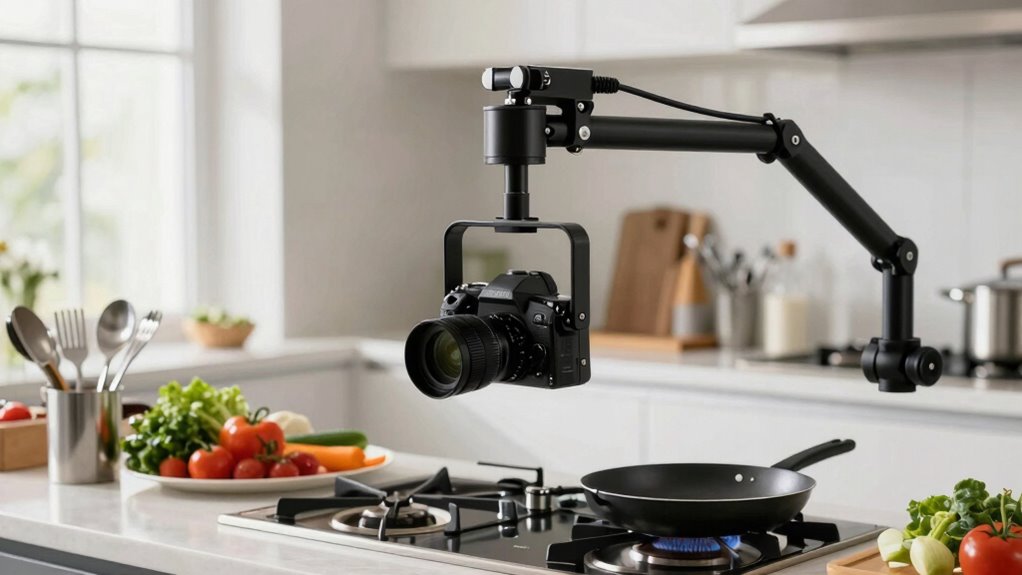
A stabilizing overhead rig is essential for achieving smooth, professional-looking cooking videos. It allows you to capture consistent camera angles without jitters, ensuring your shots look polished. With a stable rig, you can easily experiment with different perspectives, highlighting textures and techniques effectively. It also helps maintain steady framing, so your audience stays focused on the food. Plus, a stable setup makes it easier to implement lighting techniques, reducing shadows caused by shaky movements. This consistency improves overall video quality, making your content more engaging. By preventing unwanted movement, the rig keeps your footage clean and sharp, giving your viewers a seamless viewing experience that elevates your culinary presentation. Additionally, a well-designed rig can be customized to accommodate various upgrades and modifications, enhancing your filming capabilities even further. Utilizing a home theatre projector setup can also help you preview your shots with precise detail, ensuring optimal framing and focus. Incorporating stabilization techniques can further reduce minor vibrations and improve overall shot quality. Moreover, selecting the right stabilizing equipment can significantly impact the ease and effectiveness of your filming process. Implementing proper balancing is crucial for maintaining smooth operation and preventing strain on your equipment.

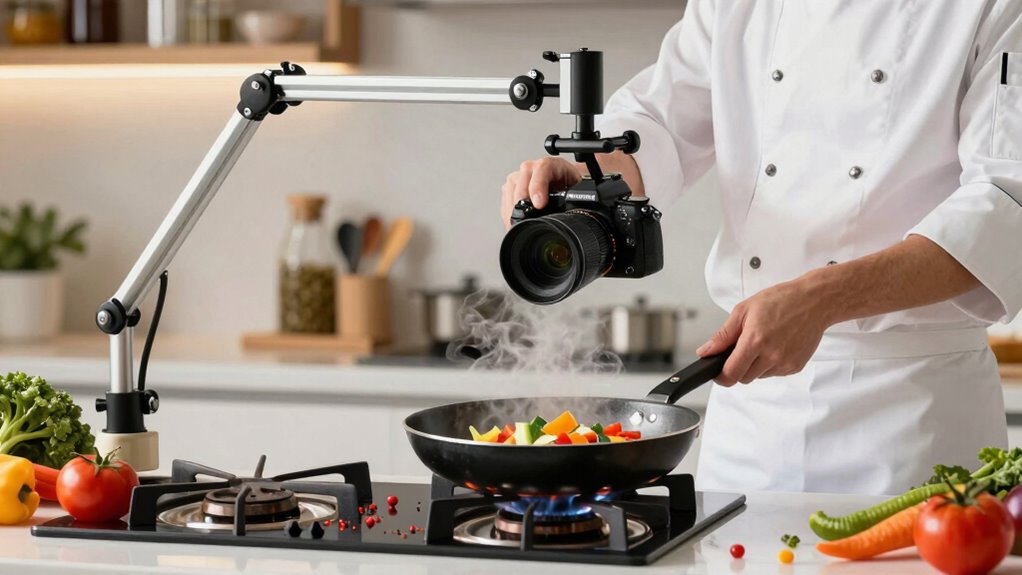
JINRAIKO Overhead Camera Mount with 360° Adjustable Arm & Phone Holder for TikTok Live Streaming Photography Studio Content Creation, Desk Mount for for DSLR Camera/Webcam/Microphone, Black
Hydraulic Floating Arm – Smooth, effortless adjustment for the perfect shooting angle.
As an affiliate, we earn on qualifying purchases.
As an affiliate, we earn on qualifying purchases.
Features to Look for in an Overhead Cooking Rig
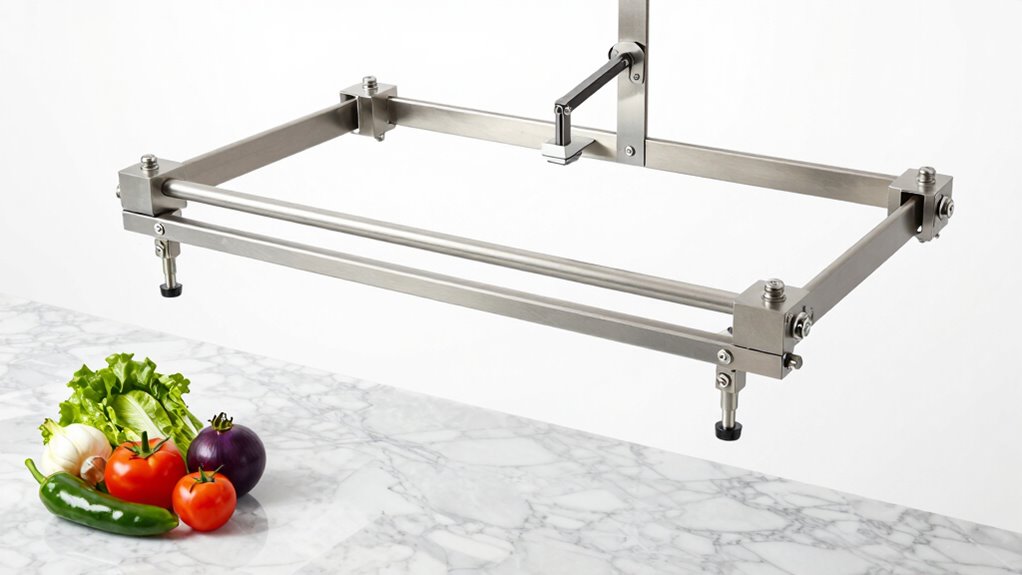
When selecting an overhead cooking rig, focusing on key features guarantees you get a setup that’s both reliable and versatile. Essential features include camera compatibility, ensuring your preferred camera fits securely and operates smoothly. Adjustable height is also critical, allowing you to customize the rig’s position for ideal framing and lighting. Stability is paramount to prevent shaky footage, so look for sturdy construction and smooth movement. Compatibility with various accessories like lights or microphones adds flexibility to your setup. Ease of assembly and portability matter if you plan to shoot in different locations. These features enhance your filming experience, producing professional-quality videos effortlessly. Incorporating build quality into your decision ensures durability and long-term performance.
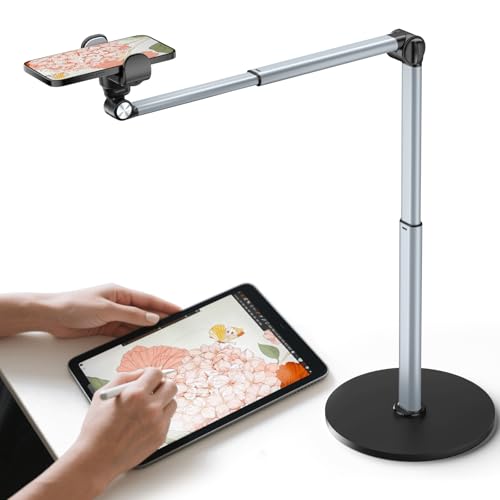
Heavy Duty Aluminum Overhead Phone Stand for Recording, Adjustable iPhone Tripod for Overhead Shots, Sturdy Stand for Cooking, Crafting, Filming, Painting – Perfect for Creators(Clip)
【Sturdy Overhead Phone Mount for Stable Recording】This overhead phone stand features a heavy-duty aluminum build with a weighted…
As an affiliate, we earn on qualifying purchases.
As an affiliate, we earn on qualifying purchases.
Step-by-Step Guide to Setting Up Your Overhead Rig

Setting up your overhead rig begins with choosing a stable mounting point and assembling the main frame. Verify your support structure can handle the weight and movement of your camera. Once secure, attach the camera mount, positioning it to achieve ideal camera angles that capture your cooking process clearly. Adjust the height for a straight-down view, making sure the rig remains steady to prevent shaky footage. Incorporate proper lighting techniques, like diffused overhead lights, to eliminate shadows and highlight ingredients. Test the setup by recording a short clip, checking for stability and lighting consistency. Fine-tune the camera angles and lighting until you get a clear, evenly lit shot. Proper setup ensures your footage is professional-looking and free of shaky motion.
Tips to Improve Stability and Get Better Video Quality
To enhance stability and improve video quality, focus on securing your overhead rig firmly to prevent any unwanted movement during filming. Stable rigs ensure smooth footage and allow you to experiment with camera angles for dynamic shots. Proper lighting techniques are also essential; use diffused light to minimize shadows and glare, enhancing clarity. Adjust your camera angles to find the most flattering perspective of your cooking process, keeping the focus sharp and consistent. Consider using weight or clamps on your rig to prevent sway, and double-check your camera’s stability before recording. Good lighting and steady positioning combine to produce professional-looking videos that captivate your audience. Additionally, incorporating safe riding habits when setting up your filming area can help prevent accidents while adjusting equipment. Paying attention to equipment stability ensures your shots remain steady throughout filming. Implementing rigging techniques can further improve overall setup stability, leading to higher-quality footage. Using proper setup procedures is also crucial for maintaining consistency and safety during filming. Being mindful of environmental conditions can help you adapt your setup for optimal results. With these tips, your overhead cooking videos will look polished and steady every time.
Frequently Asked Questions
What Is the Maximum Weight an Overhead Rig Can Support?
The maximum weight an overhead rig can support depends on its rig material and design. Typically, aluminum rigs support up to 20-30 pounds, while steel rigs handle 50 pounds or more. You should always check the specific weight capacity listed by the manufacturer. To guarantee stability and safety, never exceed the recommended weight capacity of your rig material, and consider using additional supports if needed for heavier equipment.
How Portable Are These Overhead Cooking Rigs for Outdoor Filming?
You’ll find these overhead cooking rigs quite portable thanks to their lightweight, portable design, making outdoor filming more convenient. They’re built with weather resistance in mind, so you don’t have to worry about light rain or sun exposure ruining your shoot. While they’re sturdy enough for outdoor use, make certain you secure them properly on uneven ground. Overall, these rigs offer a practical solution for capturing smooth footage anytime, anywhere.
Can the Rig Be Adjusted for Different Camera Sizes and Types?
Yes, the rig offers excellent adjustment flexibility for different camera sizes and types. You can easily customize the setup to guarantee camera compatibility, thanks to adjustable mounts and versatile support arms. This means you can use lightweight compact cameras or larger DSLRs without hassle. The design allows quick changes, so you’re ready to shoot in various scenarios, ensuring steady overhead footage regardless of your camera choice.
What Is the Typical Setup Time for an Overhead Cooking Rig?
You might think setup duration is a quick task, but rig assembly often takes longer than expected. Usually, it takes about 15 to 30 minutes to assemble an overhead cooking rig, depending on your experience and the complexity of the setup. You’ll appreciate the time spent once everything is secure, ensuring smooth footage. Just remember, patience during rig assembly pays off with steady shots and less shaky footage.
Are There Any Maintenance Tips to Ensure Long-Term Stability?
To guarantee long-term stability, you should regularly lubricate the equipment to prevent wear and maintain smooth operation. Additionally, check and tighten all mounting hardware to minimize vibration and reduce shaky footage. Incorporate vibration dampening materials where possible, such as rubber pads or isolators, to absorb shocks. Regularly inspecting and maintaining these elements will keep your overhead rig steady and ensure consistent, professional-quality videos over time.
Conclusion
With the right overhead rig, your cooking videos will glide like a well-choreographed dance, each shot steady and enthralling. No more shaky footage to distract your viewers—just smooth, professional visuals that showcase your culinary artistry. Think of your rig as the steady hand guiding your camera through a symphony of flavors, turning your kitchen into a stage where every dish shines in perfect clarity. Elevate your videos and let your culinary story unfold flawlessly.